
Introduction to Apple Tart
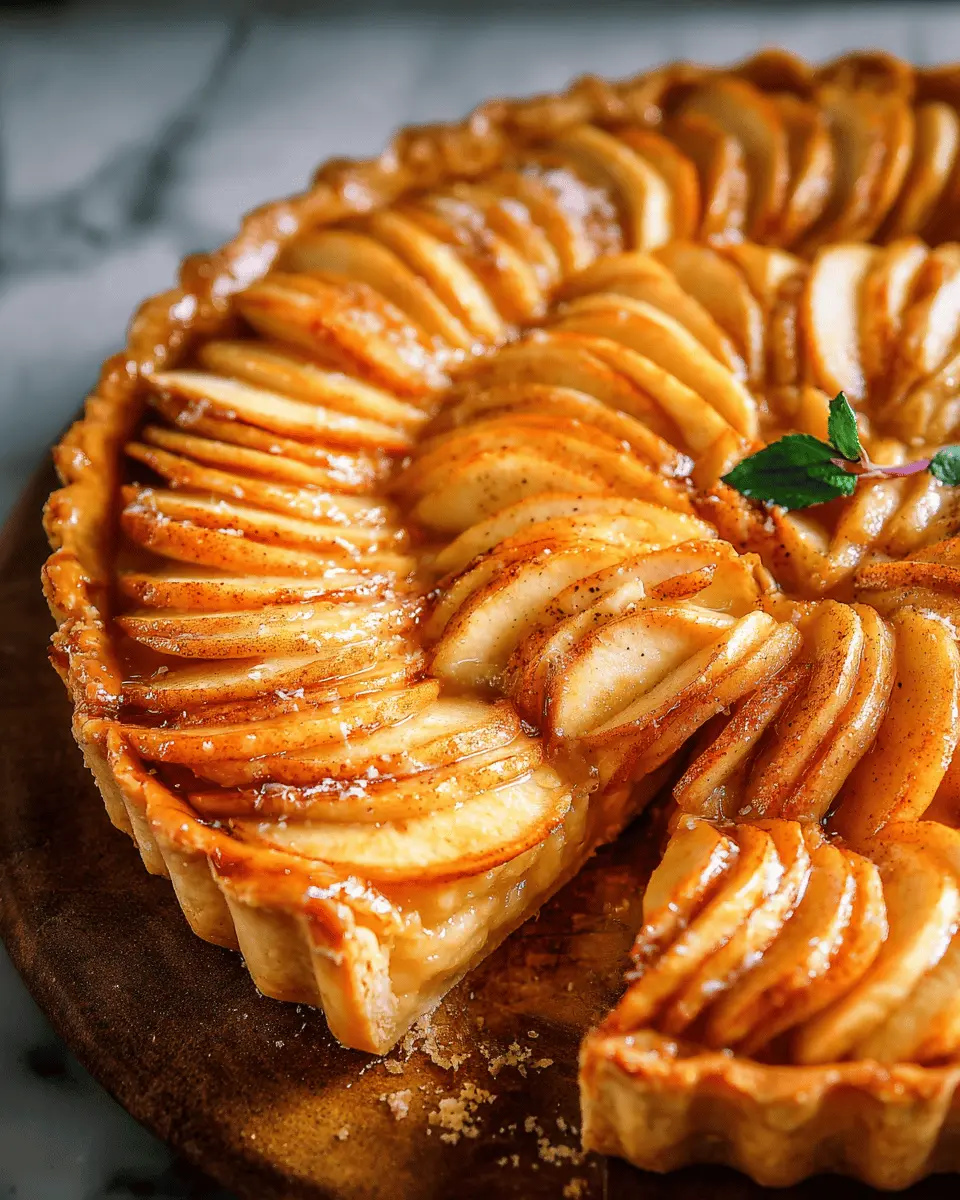
Apple tart is more than just a dessert; it’s a celebration of simple, wholesome ingredients transformed into a comforting treat. This delightful dish brings together tender apples and a buttery crust, creating a perfect harmony of flavors and textures. Whether you’re hosting a dinner party or enjoying a quiet evening at home, an apple tart is sure to impress.
What makes apple tart a delightful dessert?
The magic of apple tart lies in its incredible versatility. You can use sweet or tart apples depending on your preference, and each variety brings a unique flavor profile to the dish. The apples are typically tossed in brown sugar and cinnamon, elevating their natural sweetness while adding warmth. Furthermore, the flaky crust, which is easy to prepare, provides a satisfying crunch that complements the tender fruit.
Not to mention, this dessert lends itself well to customization—add nuts for a bit of crunch, or a scoop of vanilla ice cream for an indulgent touch. Plus, the aroma of a freshly baked apple tart wafting through your kitchen is an invitation hard to resist.
For more tips on perfecting your baking skills, check out reliable resources like King Arthur Baking Company or Serious Eats. Dive into making your own apple tart, and enjoy a delightful dessert experience!
Ingredients for Apple Tart
Creating a delicious apple tart begins with selecting the right ingredients. Here's what you'll need for a delightful dessert that will impress friends and family alike!
Filling Ingredients
-
5 apples, peeled, cored, and sliced
Use a mix of sweet and tart apples, such as Granny Smith and Honeycrisp, for depth of flavor. -
⅓ cup packed light brown sugar
This will enhance the natural sweetness of the apples. -
Juice of ½ lemon
A little acidity keeps your apples vibrant and fresh. -
1 tsp. ground cinnamon
Adds warmth and that classic apple pie flavor. -
1 tsp. pure vanilla extract
For a touch of aromatic sweetness. -
Pinch of kosher salt
Balances the sweetness beautifully.
Crust Ingredients
-
1 ⅓ cups all-purpose flour
A fundamental base for your tart. -
¼ cup packed light brown sugar
It brings a rich, caramel-like sweetness. -
½ tsp. kosher salt
Essential for flavor enhancement. -
¼ tsp. ground cinnamon
To harmonize with the filling. -
10 Tbsp. unsalted butter, melted
Creates that flakey, irresistible texture.
Finishing Touches
-
1 Tbsp. granulated sugar
For a sweet topping that caramelizes while baking. -
2 Tbsp. unsalted butter, cut into small cubes
To dot the tart before it goes in the oven. -
Melted apricot preserves, for serving
A delightful glaze that adds shine and flavor!
Feel free to adjust any ingredients to suit your taste, and don’t hesitate to explore variations! For additional tips on selecting the best apples, check out resources from The Kitchn for more insights. Happy baking!
Preparing Apple Tart
Preheat the oven and prepare the filling
To begin your Apple Tart, locate the center rack in your oven and preheat it to 350°F (about 175°C). This crucial step ensures that your tart bakes evenly. While the oven heats up, grab a large mixing bowl and combine the peeled, cored, and sliced apples with ⅓ cup of packed light brown sugar, the juice of half a lemon, a teaspoon of ground cinnamon, a teaspoon of pure vanilla extract, and a pinch of kosher salt. Toss the apples gently to coat them well in this sweet mixture. Not only does this enhance their natural flavor, but it also prevents them from browning too quickly. If you’re interested in learning more about preparing fruits for baking, you might find this article on fruit preparation tips helpful!
Make the crust mixture
Next up is crafting that delectable crust that will cradle your apples. In a large mixing bowl, start by whisking together 1 ⅓ cups of all-purpose flour, ¼ cup of packed light brown sugar, ½ teaspoon of kosher salt, and ¼ teaspoon of ground cinnamon. This blend creates a sweet and nutty base for your Apple Tart. Then, pour in 10 tablespoons of melted unsalted butter and stir until a dough forms. You want a consistent texture here; if it feels too dry, feel free to add a tiny splash of cold water to bring it together.
Press the crust into the tart pan
Now it’s time to bring your crust to life in the tart pan. Lightly grease a 10” or 11” tart pan with a removable bottom for easy serving. Take your crust mixture and press it evenly into the bottom and up the sides of the pan. Use your fingers or a spatula to ensure it’s well packed and smooth. A well-formed crust is vital for holding all that delicious apple filling while it bakes.
Assemble the tart with apples
With your crust ready, it’s time to assemble the Apple Tart. Start arranging your apple slices in bunches within the crust, making sure to tightly pack them for optimal flavor. It’s okay to get a little artistic here! Once the apples are nestled in, sprinkle the top with granulated sugar and dot it with a few small cubes of butter. This step adds a lovely browning effect as the tart bakes, enhancing the overall presentation and taste.
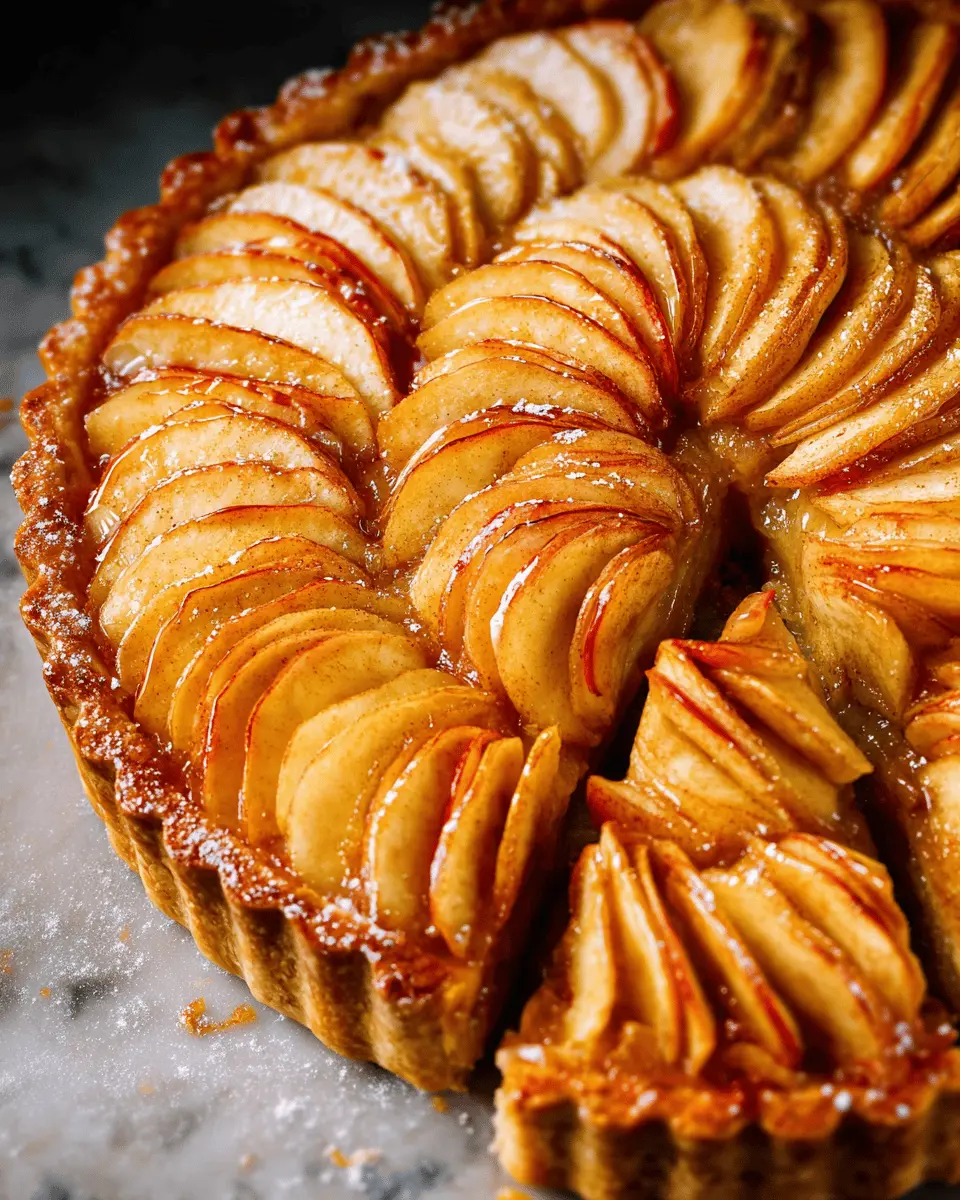
Bake and finish the tart
Now comes the most rewarding part—baking! Slide your assembled Apple Tart into the oven and bake for about 1 hour or until the crust turns a golden brown and the apples are tender. To add an elegant finish, brush the top with melted apricot preserves right after it comes out of the oven. This not only gives your tart a beautiful sheen but also an extra layer of flavor that’s simply irresistible. Allow your tart to cool slightly before slicing and serving, and enjoy the fruits of your labor!
Variations on Apple Tart
Caramel Apple Tart Variation
For a delightful twist on the classic apple tart, try incorporating a rich caramel sauce. Simply prepare your tart as usual, and once the apples are nestled in their crust, drizzle a homemade caramel sauce over the top before baking. The sweetness and depth of flavor will elevate your tart to a whole new level of indulgence. If you're unsure how to make homemade caramel, check out this guide on making caramel sauce.
Nutty Apple Tart with a Twist
Feeling adventurous? Swap out some of the all-purpose flour in the crust for ground almonds or walnuts to create a nutty flavor that complements the sweet apples beautifully. This variation adds a delightful crunch and an additional layer of flavor. You can also sprinkle some chopped nuts on top before baking for added texture and presentation. This nutty twist not only enhances the taste but also gives your apple tart a unique and exciting finish!
Cooking tips for Apple Tart
Tips for slicing apples
When preparing your Apple Tart, aim for even slices. Use a sharp knife or a mandoline for precision, cutting apples into ¼-inch thick slices. This ensures they bake evenly, providing a tender texture that complements the flaky crust. If you’re using a variety of apples, try to mix sweet and tart options for balanced flavor.
How to achieve the perfect crust
For a delightful crust, keep your ingredients chilled, especially the butter. This helps create a flaky texture. When mixing, avoid overworking the dough; just combine until it holds together. Press it firmly into the tart pan without stretching, securing those lovely edges. For an extra touch, chill the crust before baking to prevent it from shrinking.
Need more tips? Check out sources like Bon Appétit and Epicurious for expert advice on baking!

Serving suggestions for Apple Tart
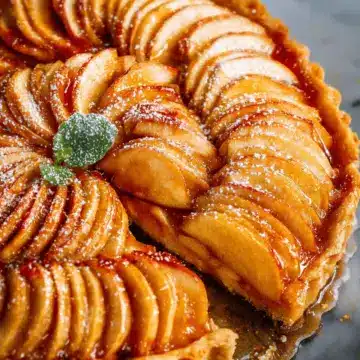
Pairing with ice cream or cream
One of the best ways to elevate your Apple Tart is by serving it with a scoop of vanilla ice cream or a dollop of fresh whipped cream. The creaminess of the ice cream or cream contrasts beautifully with the warm, gooey apples and flaky crust, creating a delightful balance of flavors and textures. For an extra touch, consider drizzling caramel sauce over the top or sprinkling some crushed nuts for added crunch. Try this easy whipped cream recipe for a homemade touch!
Serving warm vs. cold
When it comes to serving your Apple Tart, consider your preferences. Warm slices straight from the oven provide a cozy, comforting experience. The aromas fill the room, making it a perfect dessert for gatherings. On the other hand, serving it cold allows the flavors to deepen, and is especially refreshing on a warm day. Either way, your tart is bound to impress and satisfy.
Whether served warm or cold, each bite of your Apple Tart is sure to be a hit!
Time Breakdown for Apple Tart
Preparation Time
Gather your ingredients and get started! You’ll need about 25 minutes to prepare the filling and crust. Take your time peeling and slicing those apples for a delicious result.
Baking Time
Once assembled, your Apple Tart will need to bake for about 1 hour at 350°F. This waiting period will fill your kitchen with an irresistible aroma.
Total Time
In total, you’re looking at 1 hour and 25 minutes from start to finish. A bit of patience, and then you'll be ready to savor this delightful dessert!
For tips on perfecting your crust or filling, check out Serious Eats for some expert advice!
Nutritional Facts for Apple Tart
When indulging in a delightful slice of Apple Tart, it's nice to know what you're treating yourself to. Here’s a quick look at the nutritional content:
Calories
- A typical serving of Apple Tart contains approximately 250-300 calories. This makes it a balanced dessert option when enjoyed in moderation.
Sugar Content
- Each slice carries about 15-20 grams of sugar, primarily from the apples and added sugars. Keep in mind that natural sugars from fruit can provide energy and health benefits!
Fiber Content
- With around 3 grams of fiber per serving, Apple Tart contributes to your daily fiber intake, supporting digestion and keeping you feeling full longer.
Now that you're informed, feel free to savor each delicious bite, knowing it's a tasty way to enjoy wholesome ingredients! For more on healthy eating and delicious recipes, check out resources like the Nutrition.gov or WebMD Nutrition.
FAQs about Apple Tart
Can I use a different type of apple?
Absolutely! While Granny Smith apples are a classic choice for their tart flavor, feel free to experiment with other varieties. Honeycrisp, Fuji, or Gala apples can lend a sweeter or more fragrant twist to your apple tart. Just remember to balance different textures and flavors to create a delicious filling.
How do I store leftover apple tart?
If you find yourself with some leftover apple tart, you're in luck! To store it, simply cover it tightly with plastic wrap or aluminum foil. You can keep it in the fridge for up to three days. To enjoy a warm slice later, pop it in the oven for a few minutes or microwave it for a quick treat.
Can I make apple tart ahead of time?
Definitely! Apple tart is a great make-ahead dessert. You can prepare the crust and filling separately, refrigerate them, and then assemble and bake it the day you plan to serve it. This saves you time and ensures a fresh taste when your guests arrive. For tips on how to entertain effortlessly, check out resources like Bon Appétit.
Conclusion on Apple Tart
In conclusion, creating an Apple Tart at home is both a delightful and rewarding experience. The balance of tender apples and a flaky crust ensures this dessert will be a hit at any gathering. Share it with friends or enjoy it solo—either way, savor each delicious bite!
For more dessert inspiration, check out Serious Eats for tips on perfecting your baking skills!
Apple Tart: Easy Homemade Delight to Satisfy Your Cravings
Equipment
- tart pan
Ingredients
Filling
- 5 apples peeled, cored, and sliced
- ⅓ cup packed light brown sugar 71 g.
- ½ lemon juice
- 1 tsp. ground cinnamon
- 1 tsp. pure vanilla extract
- pinch of kosher salt
Crust
- 1 ⅓ cups all-purpose flour 160 g.
- ¼ cup packed light brown sugar 53 g.
- ½ tsp. kosher salt
- ¼ tsp. ground cinnamon
- 10 Tbsp. unsalted butter melted
Finishing
- 1 Tbsp. granulated sugar
- 2 Tbsp. unsalted butter cut into small cubes
- melted apricot preserves for serving
Instructions
Filling
- Arrange a rack in center of oven; preheat to 350°. In a large bowl, toss apples, brown sugar, lemon juice, cinnamon, vanilla, and salt.
Crust
- In a large bowl, whisk flour, brown sugar, salt, and cinnamon. Add butter and stir until a dough forms.
- Press crust mixture into bottom and up sides of a 10” or 11” tart pan with a removable bottom.
Assembly
- Arrange apples in bunches in crust, tightly packing. Sprinkle with granulated sugar, and dot top with butter.
- Bake tart until crust is golden brown and apples are tender, about 1 hour.
- Brush with apricot preserves. Let cool slightly.
Leave a Reply