
Introduction to Roasted Butternut Squash
Roasted butternut squash is not just a side dish; it's a game changer for young professionals looking to simplify meal prep and elevate their dining experience. If you’re juggling a busy schedule and finding it hard to whip up nutritious meals, this humble squash is here to save the day. High in vitamins A and C, it also has excellent fiber content, making it a perfect choice for quick and healthy meals.
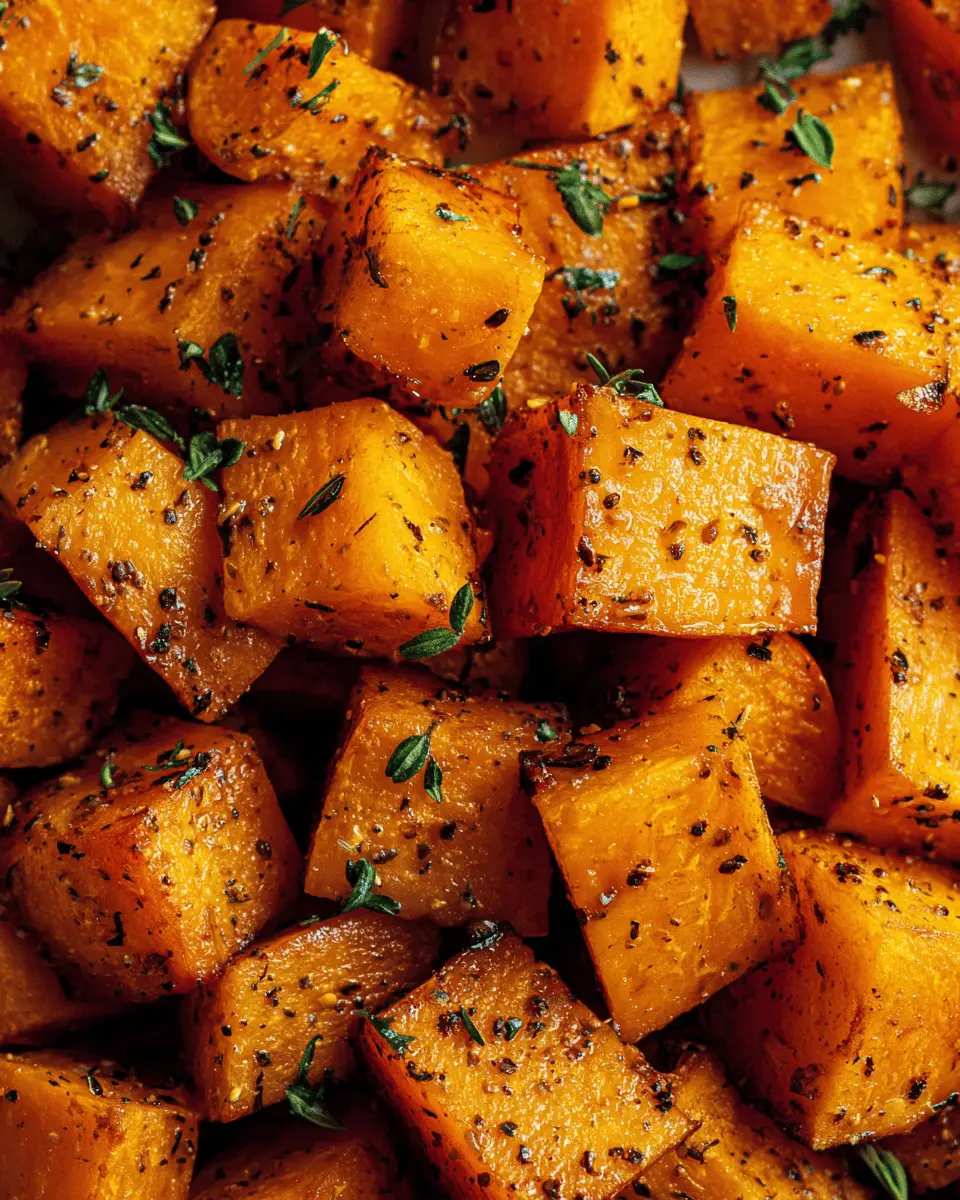
The process is straightforward: slice it, season it, and roast it. In just 30 minutes, you’ll have golden, caramelized bites that can accompany various dishes or stand alone as a delicious and filling meal. Plus, it’s versatile! Add it to salads, stir it into soups, or enjoy it on its own as a comforting dish.
One of the most advantageous aspects of roasted butternut squash is its ability to store well. Cooked squash can last in the fridge for up to four days, making it ideal for meal prepping. Imagine having a wholesome, ready-to-eat food waiting for you as you come home after a long day! For more tips on the nutritional benefits of this vibrant vegetable, feel free to explore resources like the American Heart Association.
Ingredients for Roasted Butternut Squash
When it comes to crafting the perfect roasted butternut squash, having the right ingredients is key. Let’s dive into what you’ll need for this delightful seasonal dish.
Essential ingredients
- 1 medium butternut squash (about 2 to 3 lbs), peeled, seeded, and cut into ¾-inch cubes. This is the star of your dish, providing a sweet, nutty flavor and creamy texture.
- 1 to 2 tablespoons extra-virgin olive oil for that gorgeous, golden finish.
- ½ teaspoon sea salt — feel free to adjust to your taste.
- Freshly ground black pepper, adding that lovely hint of heat.
These essentials create a solid foundation for your roasted butternut squash, but don’t stop there!
Optional spices and garnishes
Want to amp up the flavor? Here are some exciting additions to consider:
- ½ teaspoon garlic powder, smoked paprika, chili powder, or cinnamon can elevate your squash's profile.
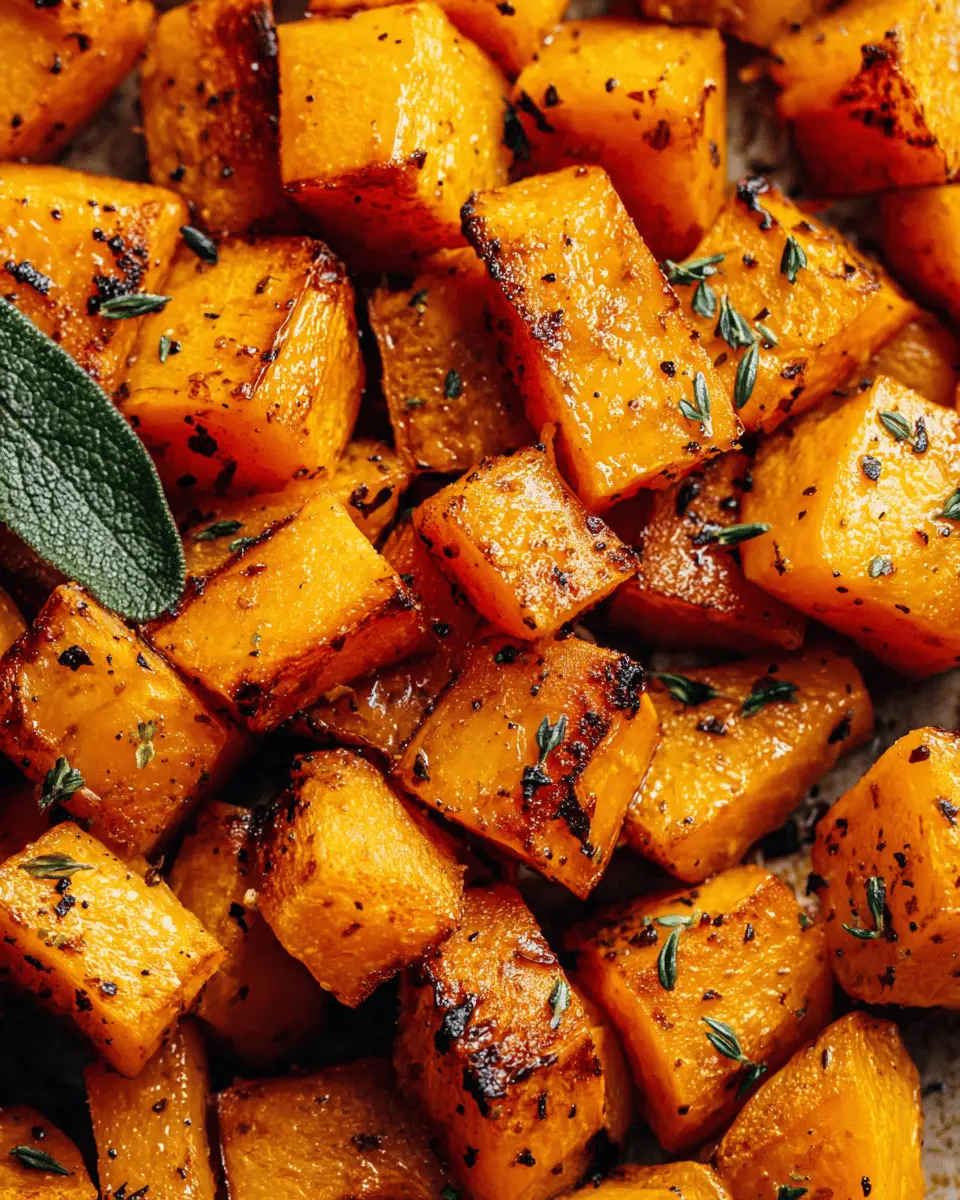
- Fresh herbs like thyme or rosemary work beautifully as a garnish, adding both color and aroma.
There's no one-size-fits-all in cooking; experiment and find what combination makes your taste buds dance! For more tips on making the most out of your ingredients, feel free to check out resources like Food Network or Bon Appétit. Happy cooking!
Preparing Roasted Butternut Squash
When it comes to autumn vegetables, roasted butternut squash is a crowd-pleaser with its sweet, nutty flavor and creamy texture. This dish can elevate any meal, whether as a cozy side, a salad topping, or a warm bowl of goodness on its own. Here’s a straightforward guide to help you prepare it perfectly every time.
Preheat the Oven
First things first—you need a hot oven to achieve that delicious caramelization. Preheat your oven to 400°F (200°C). This temperature is ideal for roasting, giving your butternut squash that beautiful golden color while locking in all the flavors. If you want to read more about the science behind roasting vegetables, check out Serious Eats.
Prepare the Butternut Squash
Next, let’s tackle that butternut squash. To begin, use a sharp peeler to remove the thick outer skin. This can be a bit tricky, so take your time—safety first! Cut it in half lengthwise, scoop out the seeds with a spoon, and then chop the squash into ¾-inch cubes. Try to keep the pieces uniform in size for even cooking. If you’re looking for some handy tips on how to navigate stubborn squash, Food Network has some great resources.
Season the Cubes
Now it’s time to add some personality to your butternut squash! In a large mixing bowl, toss the cubes with 1 to 2 tablespoons of extra-virgin olive oil. The olive oil not only adds flavor but also helps in crisping up the edges during roasting. Sprinkle in ½ teaspoon of sea salt, freshly ground black pepper, and any other spices that whisk you away to flavor town—think garlic powder, smoked paprika, chili powder, or even a hint of cinnamon. The beauty of this dish is its versatility, so don’t be shy about experimenting!
Arrange on the Baking Sheet
For optimal roasting, spread the seasoned squash in a single layer on a parchment-lined baking sheet. Make sure there's enough space between the cubes—crowding the pan can lead to steaming rather than roasting, which diminishes that sought-after crispness. Pop the baking sheet into the preheated oven, and you’ll soon be on your way to delectable bites of roasted butternut squash.
Roast to Perfection
Lastly, roast your squash for 25 to 35 minutes, flipping the cubes halfway through to ensure an even golden-brown finish. When they are fork-tender and beautifully caramelized, you’ll know they’re ready. This dish shines when served warm, but it also makes for fantastic meal prep for the week ahead.
By following these simple steps, you'll have roasted butternut squash that’s not only visually stunning but absolutely delicious. Enjoy!
Variations on Roasted Butternut Squash
Sweet and Spicy Roasted Butternut Squash
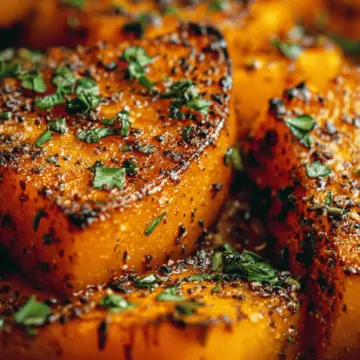
If you’re craving a warm hug in a bowl, try adding a sweet and spicy twist to your roasted butternut squash. Toss your cubes with maple syrup or honey and a sprinkle of cayenne pepper for a delightful kick. The natural sweetness complements the savory depth beautifully. You can even throw in some chopped walnuts or pecans for added crunch and flavor. For another layer, consider pairing with a drizzle of balsamic glaze right before serving for that signature balance of flavors.
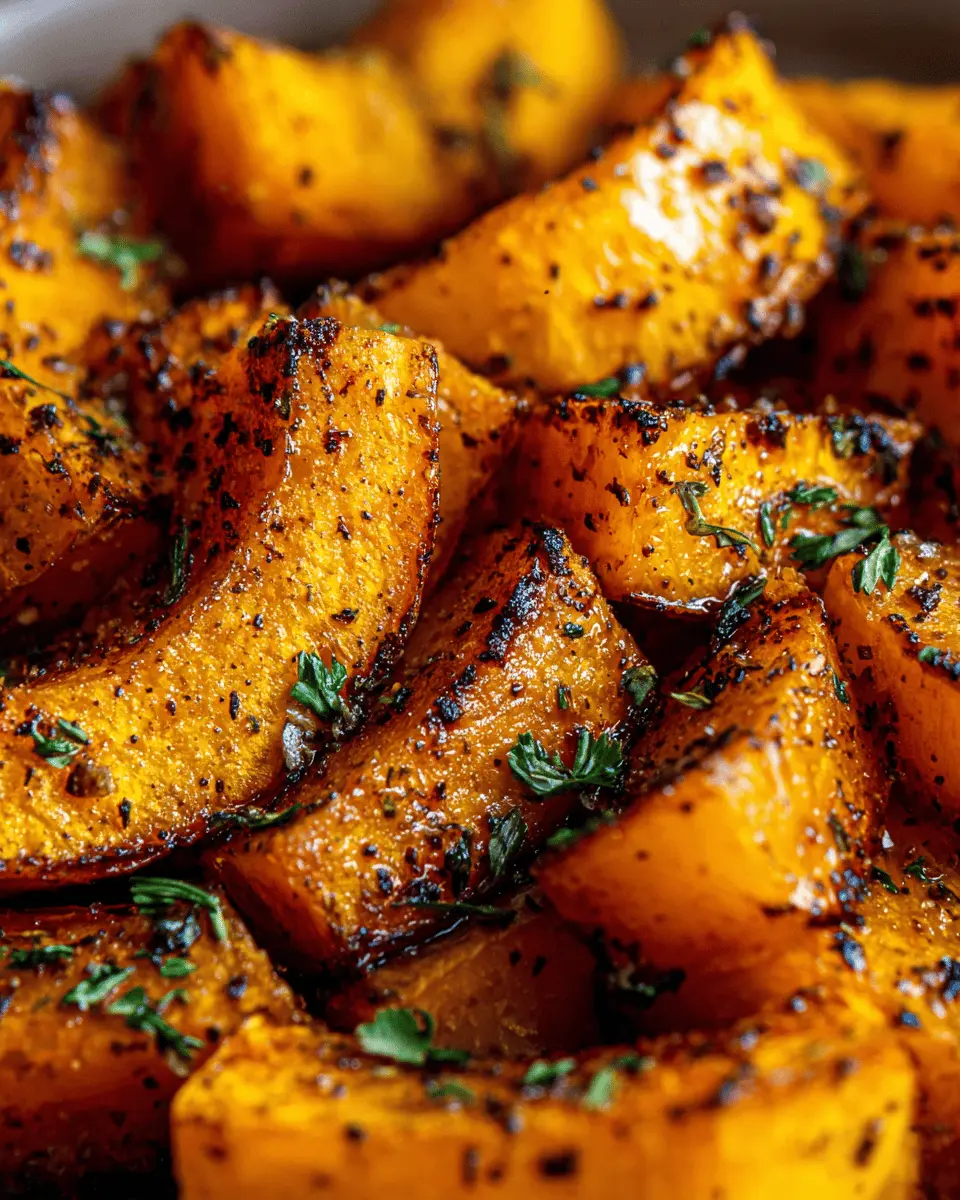
Savory Herb-Infused Roasted Butternut Squash
Enhance your roasted butternut squash with fresh herbs to elevate its earthiness. A combination of thyme, rosemary, or sage can transform your dish into a fragrant masterpiece. Just toss the cubed squash in olive oil and your chosen herbs, along with salt and pepper. Not only will this add depth to the flavor, but it also makes your kitchen smell amazing as it roasts! Serve this version as a comforting side dish or even as a main attraction on its own. If you’re looking for more inspiration, check out this herb guide for tips on flavor pairing.
These variations on roasted butternut squash are sure to impress at your next gathering or as part of your weekly meal prep!
Cooking Tips and Notes for Roasted Butternut Squash
When making roasted butternut squash, consistency is key. Aim for evenly cut cubes to ensure they roast uniformly; think in ¾-inch pieces. Prepping ahead? Consider using parchment paper on your baking tray—it prevents sticking and guarantees a beautifully even roast. Flipping the squash halfway through cooking not only gives you that tasty golden crust but also enhances flavor.
Feeling adventurous? Add a sprinkle of your favorite spices like smoked paprika or cinnamon for extra warmth. Once it’s out of the oven, garnishing with fresh herbs can really elevate the dish. For storage, keep your leftovers in the fridge for up to four days, or freeze them for up to three months.
Do you have any go-to spices or herbs for your dishes? Try experimenting next time—your taste buds will thank you! For more culinary inspiration, check out sources like EatingWell for a wealth of ideas.
Roasted Butternut Squash: The Easiest Fall Comfort Dish
Equipment
- oven
- Baking Sheet
- parchment paper
Ingredients
Vegetables
- 1 medium butternut squash peeled, seeded, and cut into ¾-inch cubes
- 1 to 2 tablespoons extra-virgin olive oil
- ½ teaspoon sea salt or to taste
- freshly ground black pepper to taste
- ½ teaspoon optional spices garlic powder, smoked paprika, chili powder, or cinnamon
- fresh herbs like thyme or rosemary for garnish
Instructions
Cooking Instructions
- Preheat the Oven: Set oven to 400°F (200°C) for ideal browning and texture.
- Prepare the Squash: Peel, seed, and cut the squash into ¾-inch cubes.
- Season: Toss cubes with olive oil, salt, pepper, and any desired spices.
- Arrange: Spread cubes in a single layer on a parchment-lined baking sheet, leaving space between pieces.
- Roast: Bake for 25–35 minutes, flipping halfway, until tender and golden-brown.
- Serve or Store: Enjoy warm or store for meal prep.


Leave a Reply