
Introduction to Homemade Salted Caramel
Why homemade salted caramel is a game changer
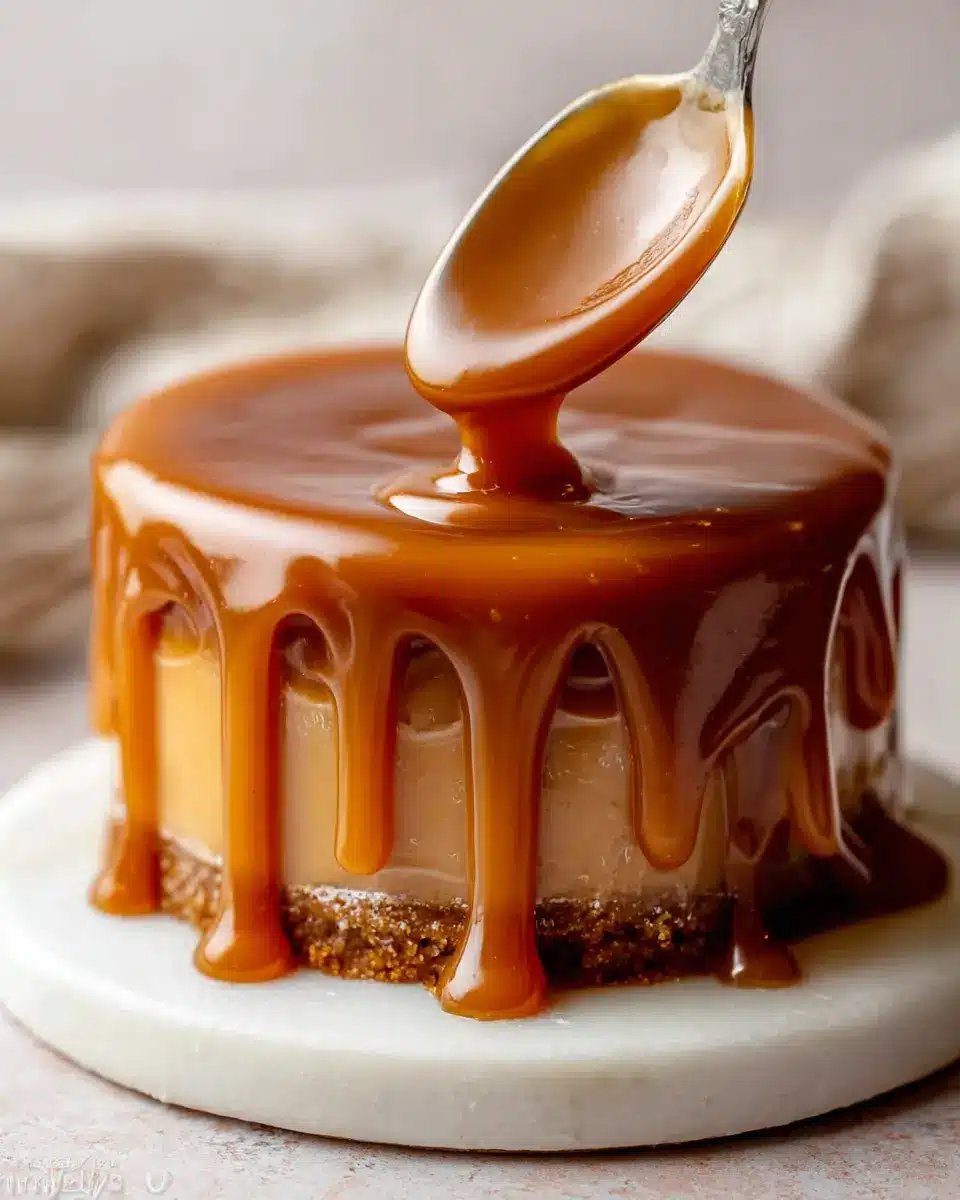
Imagine a drizzle of rich, buttery caramel that adds a tantalizing touch to your desserts—it’s nothing short of magic! Opting for a homemade salted caramel recipe not only gives you control over the ingredients but also allows you to customize the flavor to your liking. Store-bought versions can often contain preservatives and artificial flavors, but crafting your own ensures a fresh, authentic taste. As someone who loves experimenting in the kitchen, I’ve found that there’s a profound satisfaction in creating something so delicious from scratch.
The joys of crafting your own confections
There's something genuinely rewarding about crafting your own confections. The process can be meditative, and, let’s be honest, there’s just a special thrill that comes with watching sugar transform into that beautiful amber liquid. Whether drizzled over ice cream, incorporated into your favorite baked goods, or simply enjoyed by the spoonful, homemade salted caramel elevates everything it touches. Plus, sharing it with friends or using it as a delightful gift showcases your culinary talents like nothing else!
So why not dive into this homemade salted caramel journey? Trust me; it’s easier than you might think, and the results are simply delectable. For more tips and tricks, check out expert insights from sources like Serious Eats. Happy cooking!
Ingredients for Homemade Salted Caramel
Creating the perfect homemade salted caramel recipe starts with the right ingredients. Let's dive into the essential components that will catapult your caramel-making journey to sweet success!
Essential ingredients for perfect caramel
- Granulated sugar: Use 1 cup (200g) of pure cane granulated sugar for that perfectly smooth, rich flavor.
- Unsalted butter: Opt for 6 tablespoons (85g) of unsalted butter at room temperature; this helps control the salt levels in your caramel.
- Heavy cream: A ½ cup (120g/ml) of room-temperature heavy cream is crucial for a luxurious, silky texture.
- Salt: Just 1 teaspoon of fine salt enhances the caramel’s sweetness, providing that delightful salted flavor balance.
Tips for selecting high-quality ingredients
When it comes to selecting ingredients for your homemade salted caramel, quality matters! Look for pure cane sugar, as it melts consistently for a smooth caramel. Choosing unsalted butter lets you control the salt level, while heavy cream with a higher fat content (36%) gives a creamier mouthfeel. For salt, regular table or kosher salt works beautifully, but feel free to experiment with flakier salts to personalize the flavor. Your caramel will shine with these thoughtful choices!
For further insights on quality ingredients, check out this source for a deeper look at baking fundamentals.
Step-by-step Preparation of Homemade Salted Caramel
Making your own homemade salted caramel is easier than you might think, and the results are incredibly rewarding! Follow these simple steps to create a rich and luscious sauce that’s perfect for drizzling over desserts or just savoring by the spoonful.
Gather and prepare your ingredients
Before diving into the cooking process, it’s essential to gather everything you need. Here’s a quick checklist for success:
- Granulated sugar: 1 cup (200g), preferably pure cane
- Unsalted butter: 6 tablespoons (85g), cut into pieces at room temperature
- Heavy cream: ½ cup (120g/ml), also at room temperature
- Salt: 1 teaspoon for that perfect finishing touch
Having everything ready will make your caramel-making experience smoother and prevent any last-minute scrambles.
Melt the sugar with patience
Start by placing a medium heavy-duty stainless steel saucepan over medium heat. Now it’s time to transform that sugar! Pour the granulated sugar into the pan and stir it constantly with a wooden spoon or heat-safe silicone spatula. You’ll notice the sugar clumping and eventually melting into a smooth, rich amber liquid.
This process usually takes about 6 minutes, but keep a close eye on it—burnt sugar can ruin the flavor. Remember to scrape the bottom edges to prevent burning. Reading up on caramelization techniques can also be insightful!
Introducing butter and managing the heat
Once your sugar has melted to a beautiful amber color, reduce the heat to low and carefully add the butter. This is where the magic happens, but it can also get a little wild—so be prepared for the caramel to bubble up dramatically. If you’re worried about splatters, kitchen gloves are a great protective measure.
As the butter incorporates, stir continuously until well combined. If you notice any separation or clumping, don’t panic. Simply remove it from the heat and vigorously whisk until it comes together again. Trust that whisk—it's your best friend at this stage!
Adding cream for that luscious texture
Next comes the cream! Slowly pour it into the caramel, stirring constantly to fully incorporate. The cooler cream will cause the mixture to bubble and steam, so tread carefully. After all the cream is mixed in, let the caramel boil for about a minute. If you want precision, aim for a temperature of 220°F (104°C) using a candy thermometer. If you’re interested in candy-making techniques, check out resources from food science experts!
Finishing touches with salt
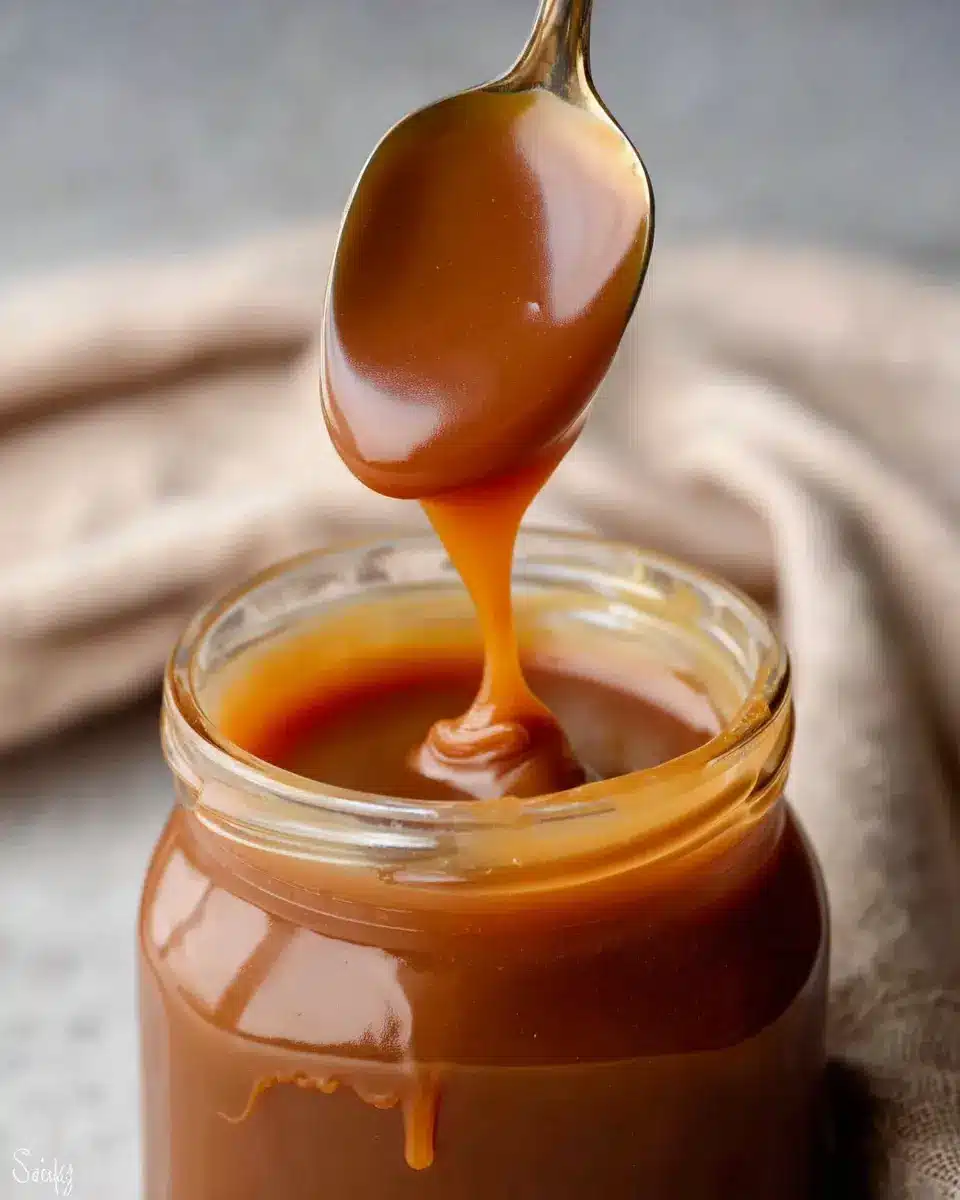
Once your caramel has reached the desired consistency, remove it from heat and stir in the salt. The caramel will be thin, but don’t worry; it thickens as it cools. Let it slightly cool before using or storing. For ideal storage, place it in a tightly sealed jar and keep it in the refrigerator for up to a month. Reheat it as needed—just remember that it can solidify in the cold!
Now you’re ready to enjoy your homemade salted caramel sauce! Whether you drizzle it on ice cream, use it in baking, or savor it straight from the jar, this recipe is bound to satisfy your sweet tooth. Happy caramel-making!
Variations of Homemade Salted Caramel
Infused flavors: vanilla, coffee, and more
One of the delights of making your own homemade salted caramel recipe is the endless potential for flavor variations. Try adding a splash of vanilla extract or even a sprinkle of instant coffee granules for a mocha twist. You can also infuse the caramel with spices like cinnamon or even a hint of citrus zest for a refreshing kick. The beauty of homemade caramel lies in your creativity—don't hesitate to experiment!
Altering salt levels for a unique taste profile
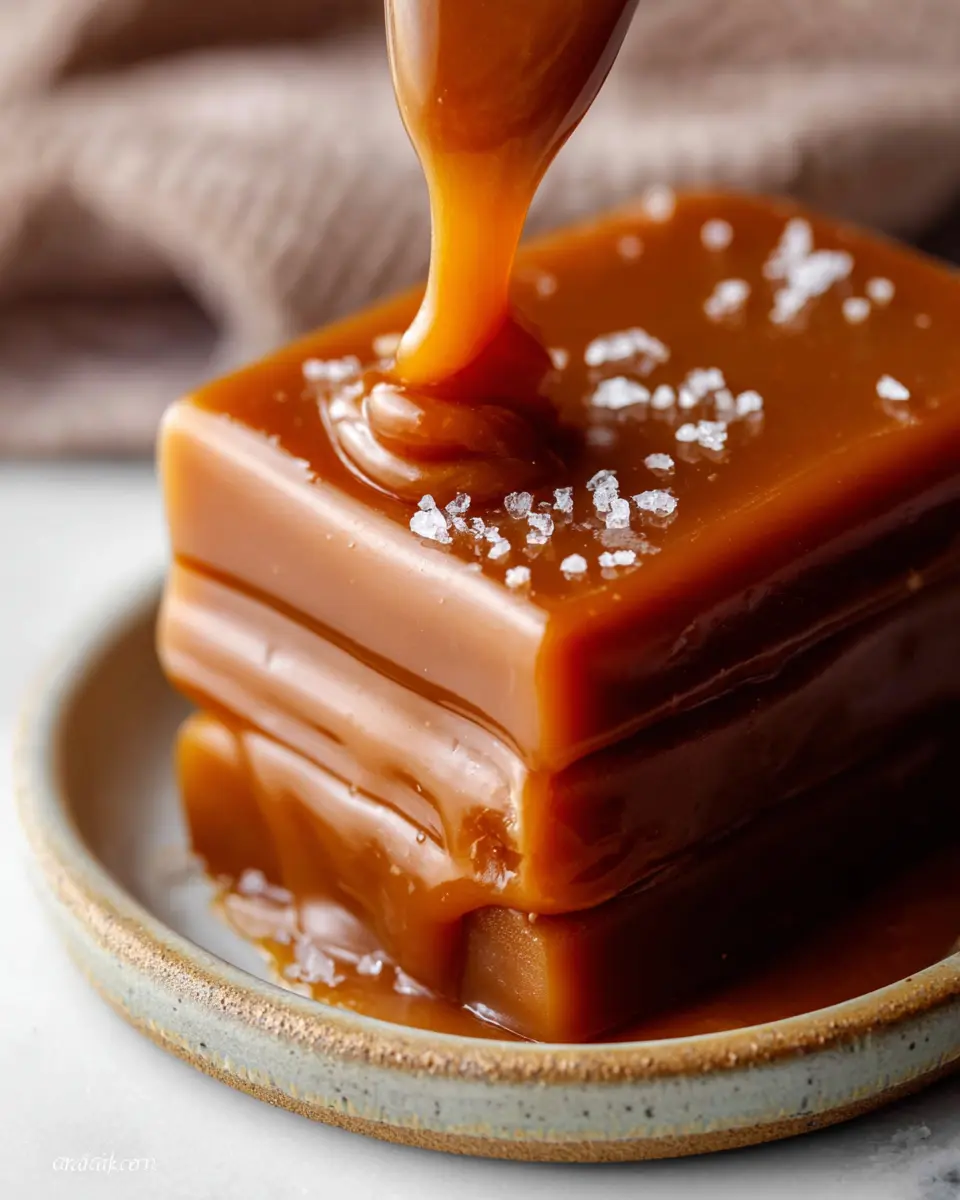
Adjusting the salt content in your caramel can elevate it to new heights. If you prefer a less salty flavor, reduce the salt to ¾ teaspoon, tasting as you go to find the right balance for your palate. Conversely, if you're a fan of bold flavors, you can boost the saltiness to enhance the sweetness further. Remember, it’s all about achieving that perfect sweet-and-savory dance on your taste buds!
Cooking Tips and Notes for Homemade Salted Caramel
Importance of Tools and Equipment
Using the right tools makes all the difference when following a homemade salted caramel recipe. Invest in a medium, heavy-duty stainless steel saucepan—avoid nonstick as it can lead to uneven heating. A sturdy wooden spoon or heat-safe silicone spatula helps you stir without scratching your cookware. Consider a candy thermometer for precise results, but don't worry if you don't have one; experience and observation can guide you!
Common Pitfalls to Avoid
Caramel can be tricky, so keep these tips in mind:
- Stir Constantly: This prevents the sugar from burning. If clumps form, don't panic—just keep stirring until it's fully melted.
- Watch the Heat: Reduce the heat once the sugar is melted to avoid burning when adding butter and cream.
- Be Cautious with Splatter: The mixture can bubble vigorously, so consider wearing kitchen gloves to protect your skin.
For further reading on candy-making techniques, check out this helpful guide from Bon Appétit.
Serving Suggestions for Your Homemade Salted Caramel
Pairing with Desserts: Ice Cream, Cakes, and More
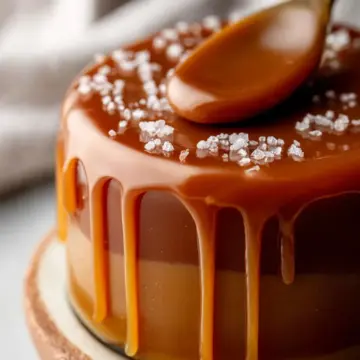
Your homemade salted caramel recipe can elevate many desserts! Drizzle it over creamy vanilla ice cream for a classic treat, or use it as a rich layer in decadent cakes. It pairs beautifully with chocolate desserts, enhancing both flavors and adding a delightful texture. Try incorporating it in trifles or as a swirled topping for cheesecake—your guests will be begging for the recipe!
Creative Uses: Toppings, Drizzles, and Fillings
The versatility of your salted caramel doesn't stop at desserts! Use it as a topping for pancakes or waffles for a brunch treat that will impress. It can shine as a filling in pastries or even beneath a layer of cream in tarts. Feeling adventurous? Whip up homemade caramel popcorn by tossing freshly popped corn in your caramel sauce for an irresistible snack. The possibilities are endless! For more ideas, check out this article on creative caramel uses.
Time Breakdown for Homemade Salted Caramel
Preparation Time
Get your kitchen ready in just 10 minutes. Gather and measure your ingredients, and set everything within arm's reach for a smooth cooking experience. Having everything prepped beforehand allows you to focus on the fun part—making delicious homemade salted caramel!
Cooking Time
You'll be stirring up your caramel sauce for about 15 minutes. This includes melting the sugar and combining it with the butter and cream. Remember, the key is to keep stirring to prevent burning, so put on your favorite playlist and enjoy the process!
Cooling and Storing Time
Let your salted caramel cool for approximately 30 minutes before transferring it to a container. Once cooled, it will thicken beautifully. Store your creation in the refrigerator, where it stays fresh for up to a month, making it perfect for drizzling over desserts or simply savoring on its own.
Feel free to check out tips for storing caramel to ensure your tasty creation lasts as long as possible!
Nutritional Facts for Homemade Salted Caramel
Calories per serving
Each serving of your homemade salted caramel recipe packs a sweet punch, containing approximately 100 calories. Enjoying this rich treat in moderation is key!
Sugar content
With 15 grams of sugar per serving, this decadent caramel sauce enhances your desserts beautifully. Just remember, it's all about balance!
Shelf life guidelines
If stored properly in an airtight container, your homemade salted caramel can last up to 1 month in the fridge. It can even be frozen for up to 3 months! When you're ready to use it, simply reheat gently on the stove or in the microwave.
For more detailed information, I recommend checking out Healthline for insights on sugar and calorie content in homemade treats. Your taste buds will thank you!
FAQs about Homemade Salted Caramel
How can I prevent my caramel from burning?
Burning caramel is a common concern, but with a few tips, you can easily avoid this! First, use a heavy-duty saucepan to ensure even heat distribution. Stir the sugar constantly as it melts, focusing on the bottom edges where it tends to burn first. If you notice any bitter smell, remove the pan from heat immediately. Remember, patience is key—keep stirring and don’t walk away!
Can I adjust the saltiness of the caramel?
Absolutely! Depending on your taste preferences, you can modify the saltiness of your homemade salted caramel recipe. Start with the recommended teaspoon of salt, taste, and adjust as desired. Using a flakier salt can give a delightful texture, so feel free to experiment.
What’s the best way to store leftover caramel?
To keep your caramel fresh, store it in an airtight container in the refrigerator for up to a month. For longer storage, you can freeze it in an airtight container for up to three months. Just remember to thaw it in the fridge and reheat it gently before using—it will become thick and gooey, perfect for drizzling! For more storage tips, check out The Kitchn's guide on caramel.
Conclusion on Homemade Salted Caramel
The satisfaction of homemade delights
Creating your own homemade salted caramel is a rewarding experience. There's something truly special about savoring the rich, buttery flavor crafted by your own hands. Whether drizzling over desserts or enjoying straight from the jar, each taste brings joy.
Encouragement to experiment and enjoy the process
Don't shy away from getting creative! Experiment with different salts, textures, and uses for this versatile treat. Enjoy every moment of the process, and let your culinary curiosity lead the way. Dive in, and most importantly, have fun! For more ideas, check out Serious Eats for inspiration.
Homemade Salted Caramel Recipe
Equipment
- Medium Heavy-Duty Saucepan
- Wooden Spoon
- Candy Thermometer
Ingredients
- 1 cup granulated sugar make sure it’s labeled 'pure cane'
- 6 Tablespoons unsalted butter at room temperature, cut into 6 pieces
- ½ cup heavy cream at room temperature
- 1 teaspoon salt
Instructions
- In a medium heavy-duty stainless steel saucepan, over medium heat, cook the sugar, stirring constantly until it melts into a thick brown liquid. This takes about 6 minutes.
- Once the sugar is melted, reduce heat to low and stir in the butter carefully, as the mixture will bubble. Cook and stir until well combined.
- Slowly pour in the heavy cream, stirring constantly. Allow to boil for 1 minute on medium heat until it rises in the pan.
- Remove from heat and stir in the salt. Allow to cool and thicken before use.
- Cover tightly and store in the refrigerator for up to 1 month, reheating as needed.


Leave a Reply