
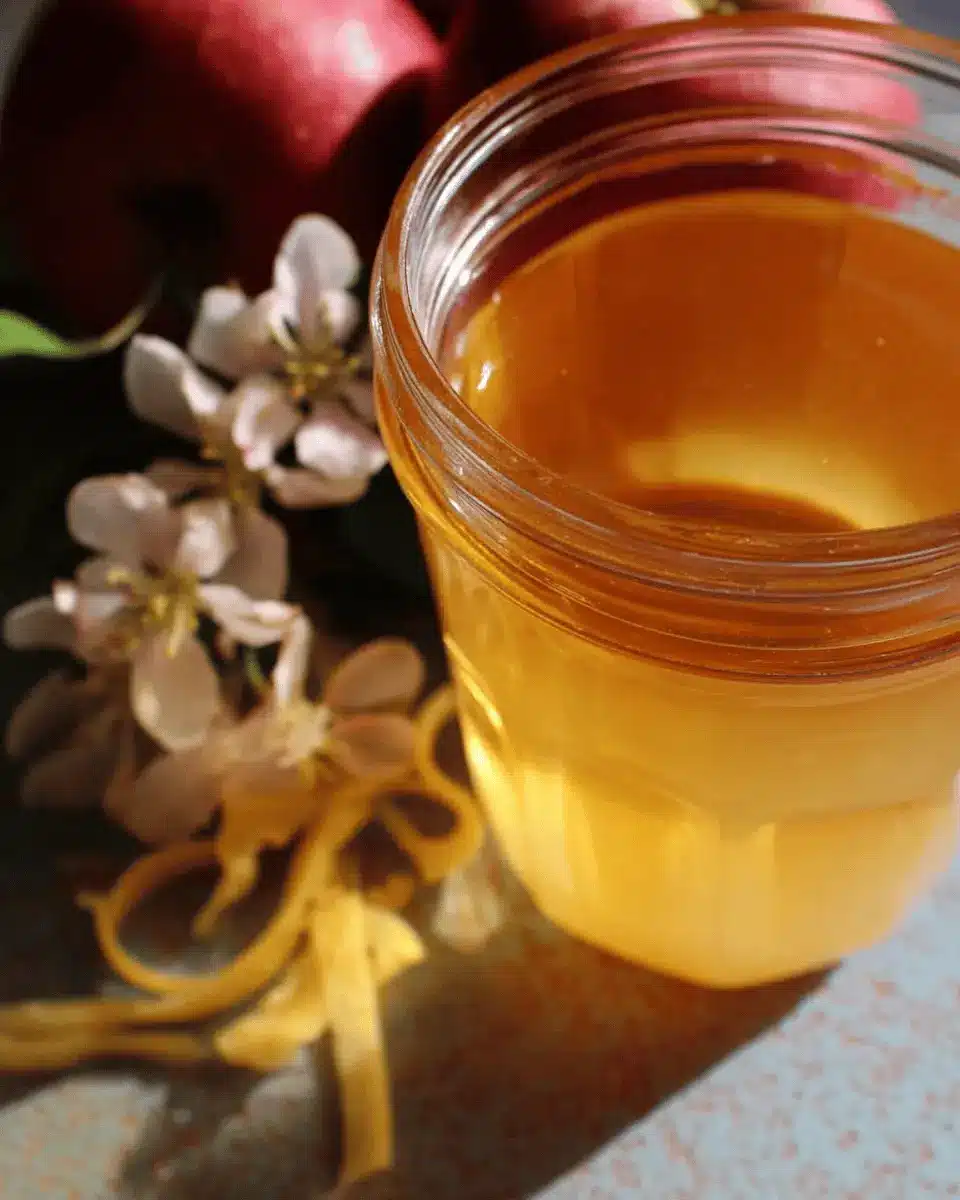
Introduction to Apple Cider Vinegar from Scraps
Have you ever found yourself throwing away apple peels and cores after making pies or a fresh apple dish? If so, you're not alone! Many of us waste these flavorful scraps without realizing their potential. Creating apple cider vinegar from scraps is not only a sustainable way to reduce waste, but it also adds a delightful homemade touch to your pantry.
Why not turn those remnants into something useful? According to health experts, apple cider vinegar can aid digestion, support weight loss, and even improve skin health. By brewing your own batch, you can control the ingredients and avoid the preservatives often found in store-bought varieties. Plus, it's an enjoyable and simple process that yields a delicious result!
Making apple cider vinegar from scraps encourages creativity in the kitchen and empowers you to embrace a zero-waste lifestyle. With just a few basic ingredients—apple scraps, sugar, and water—you can transform those peels and cores into a tangy and versatile vinegar perfect for dressings, marinades, and more. So, gather your scraps and let's get started on this fun journey of fermentation!

Ingredients for Apple Cider Vinegar from Scraps
Making apple cider vinegar from scraps is not only a sustainable choice but also a fun culinary adventure! Here’s what you'll need to get started on this easy fermentation journey:
- Apple peelings or cores: Save those scraps from your apple snacks or pies!
- Sugar: One tablespoon per one cup of water is the magic ratio, which feeds the beneficial bacteria during fermentation. If you're interested in organic options, check out this sucanat cane sugar.
- Water: Use filtered water to ensure the best results.
- Glass jar: A quart-sized jar is a great start, and you can find one here. Don't worry if you have more scraps; you can always scale up!
In just a few easy steps, you can transform your apple scraps into homemade vinegar that elevates your culinary creations and impresses your friends. Ready to dive in? Let's get to it!
Step-by-step Preparation of Apple Cider Vinegar from Scraps
Making your own apple cider vinegar from scraps is not only a great way to reduce waste, but it also connects you with the simple, satisfying art of fermentation. Let’s jump into the process, making it as approachable and enjoyable as possible!
Gather your apple scraps
Begin your journey by collecting your apple scraps. This includes peels, cores, and any other leftover bits from lunch or baking. You might be wondering, "What about those slightly bruised apples?" Great news! They can absolutely be used as long as they aren't rotten. So, next time you make a delicious pie or have a snack, toss those scraps aside. You can also freeze them until you're ready to have enough for a batch.
Mix sugar and water
For your apple cider vinegar from scraps, you will need to prepare a simple mixture of sugar and water. For every cup of water, add one tablespoon of sugar. Granulated white sugar works fine here, but if you’re feeling adventurous, brown sugar or honey can also add a unique twist. Stir it well until the sugar dissolves. This sugar acts as a food booster for the yeast during fermentation, so don’t skip it!
Combine apple scraps with sugar water
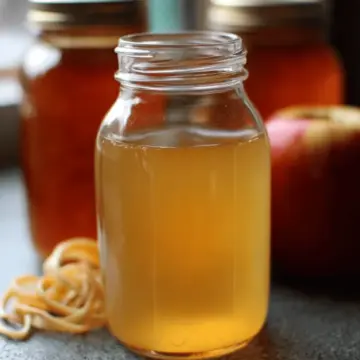
Once your sugar mixture is ready, fill a glass jar—ideally a quart-sized jar—about three-quarters full with your apple scraps. Pour the sugar water over the scraps until they are completely submerged, leaving a little room at the top of the jar to allow for bubbling and expansion during the fermentation process.
Ferment and stir
Cover your jar loosely with a coffee filter or a piece of clean cloth secured with a rubber band. Place it in a warm, dark spot in your kitchen. Your mixture will need about two weeks to start fermenting. If you're keen, give it a gentle stir every few days to mix things up a bit. Don’t be alarmed if you see some brownish or grayish scum on the surface—this is normal! Just skim it off with a spoon.
Strain and complete fermentation
After the two weeks of your apple cider vinegar from scraps brewing, it’s time to strain the mixture. Use a fine mesh strainer or cheesecloth to separate the liquid from the solids. You should be left with a pleasantly sweet aroma, but don’t be surprised if it still lacks that vinegar taste. Set the strained liquid aside, capping it loosely again, and let it ferment for another two to four weeks. You’ll know it’s ready when that classic tangy smell hits your nose!
You now have a flavorful apple cider vinegar from scraps ready for your culinary adventures! Store it as you like, and start using it for dressings, cleaning, and more. Enjoy the satisfaction of making something delicious from your kitchen scraps—you're not just cooking; you’re creating!
Variations on Apple Cider Vinegar from Scraps
Using Other Fruit Scraps
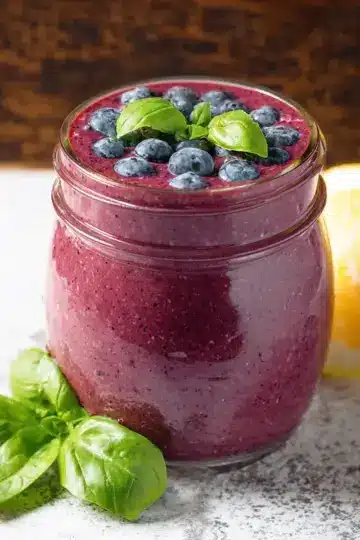
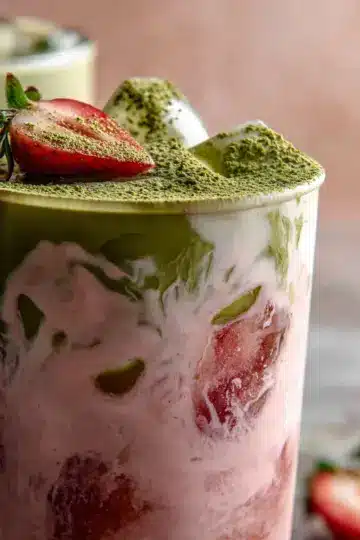
While apple cider vinegar from scraps is a delightful staple, don’t hesitate to experiment with other fruit peelings and cores! Pears and peaches, for instance, can also yield a unique vinegar with their own distinct flavors. Just like apples, these fruits contain natural sugars that help kickstart the fermentation process. Plus, it’s an excellent way to reduce food waste! If you’re in need of ideas on how to use those leftovers, consider making delicious fruit-infused water or smoothies.
Infusing Flavors into Your Vinegar
To take your homemade vinegar to the next level, consider infusing it with flavors. After straining out the scraps, add herbs like basil, thyme, or rosemary to the liquid. You can also experiment with spices such as cinnamon or ginger for a warm twist. Just let the flavors seep for a week or so before straining again. This process not only adds depth to your vinegar but also provides a unique health boost, as many of these herbs are packed with beneficial properties. For detailed infusion techniques, check out this herb guide.
By playing with different fruit scraps and infusing unique flavors, you’ll unlock a world of culinary possibilities while enjoying the satisfaction of crafting your own apple cider vinegar from scraps. Happy fermenting!
Apple Cider Vinegar from Scraps
Equipment
- Glass jar
Ingredients
Apple Cider Vinegar Ingredients
- 1 quart apple peelings or cores Use scraps from organic apples if possible.
- 1 tablespoon sugar Per one cup of water used.
- cup water
Instructions
Preparation Steps
- Fill the glass jar ¾ of the way with the apple peels and cores.
- Stir the sugar into the water until it’s mostly dissolved, and pour over the apple scraps until they are completely covered. (Leave a few inches of room at the top of the jar.)
- Cover loosely with a coffee filter or fabric scrap secured with a rubber band and set in a warm, dark place for around two weeks.
- You can give it a stir every few days, if you like. If any brownish/greyish scum develops on the top, simply skim it off.
- Once two weeks has passed, strain the scraps from the liquid.
- At this point, my vinegar usually has a pleasantly sweet apple cider smell, but is still missing that unmistakable tang.
- Discard the scraps (or feed them to your chickens!), and set the strained liquid aside for another 2-4 weeks.
- You’ll know your apple cider vinegar is complete once it has that unmistakable vinegary smell and taste. If it’s not quite there yet, simply allow it to sit a while longer.
- Once you are happy with the taste of your vinegar, simply cap and store it as long as you like. It won’t go bad.
- If a gelatinous blob develops on the top of your vinegar, congratulations! You have created a vinegar 'mother'.
- Use your homemade vinegar just like you would store-bought vinegar– for cooking, cleaning and everything in between!


Leave a Reply