
Introduction to Easy Flaky Butter Pie Crust
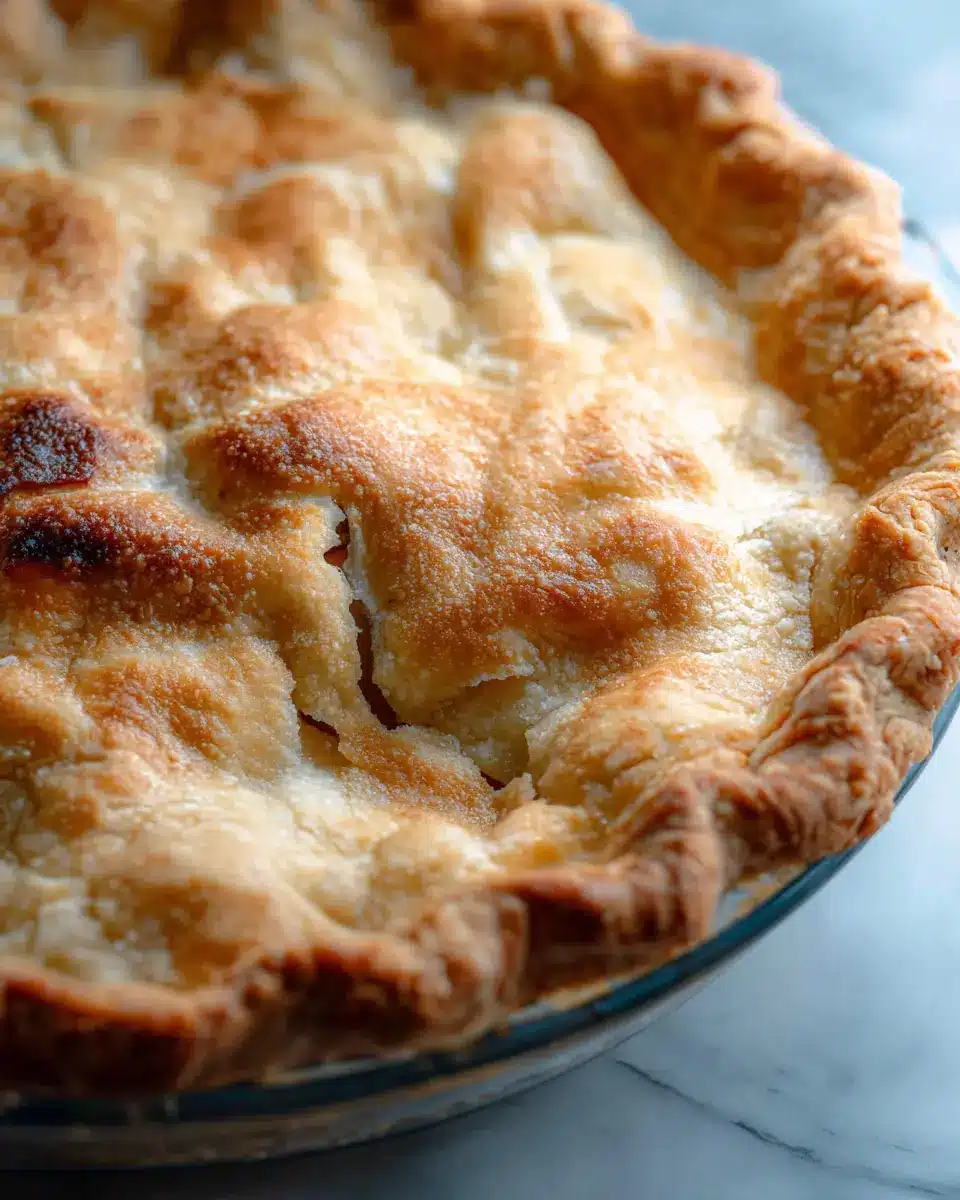
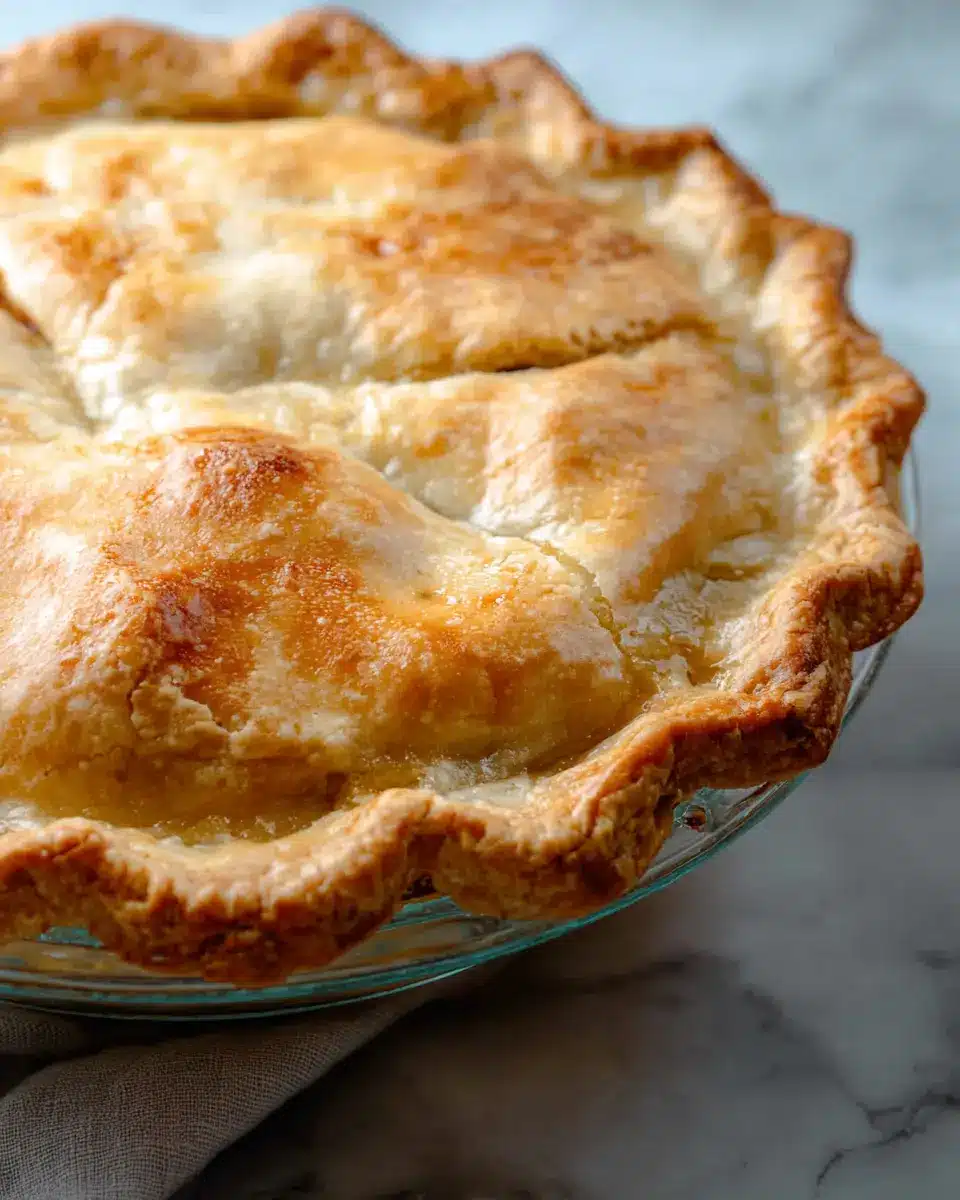
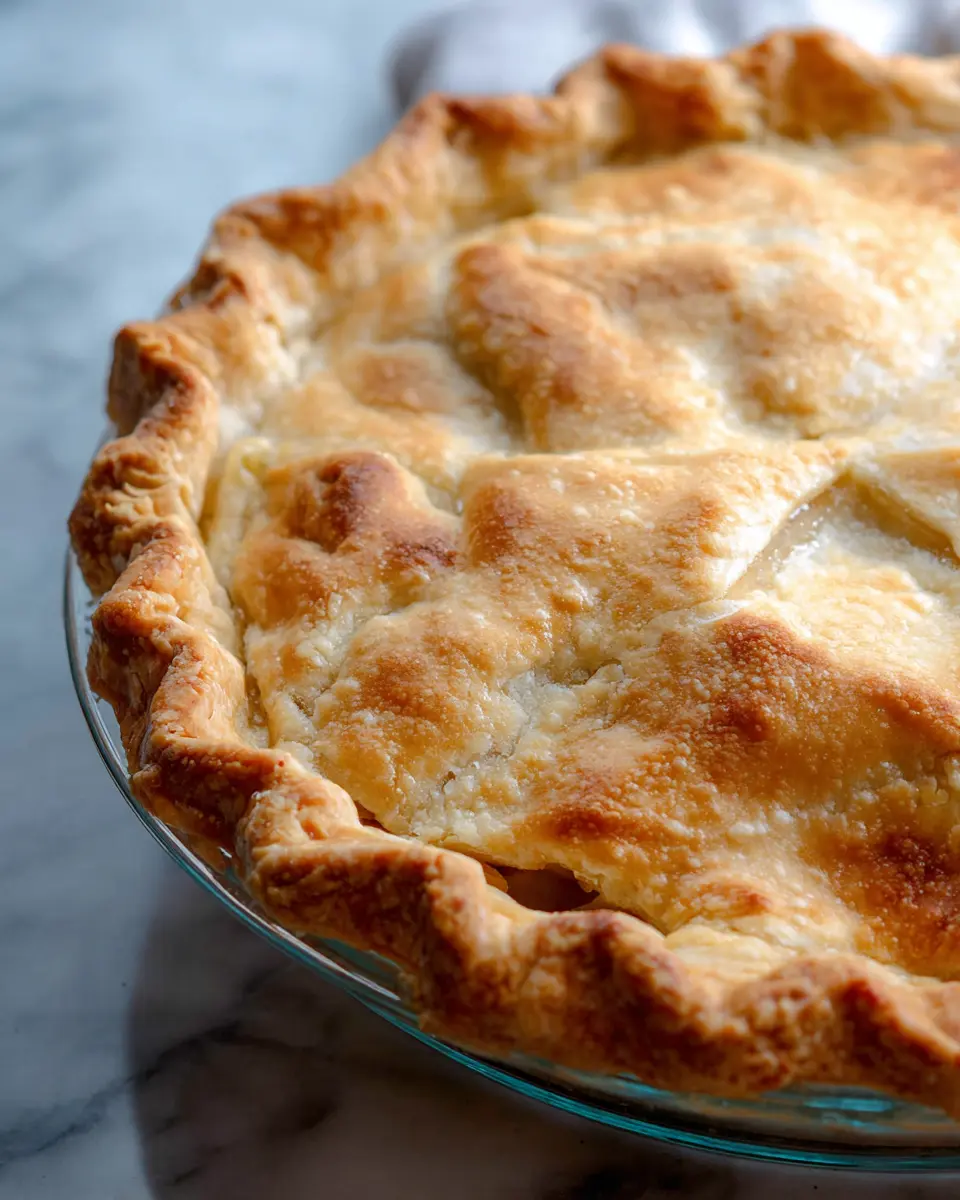
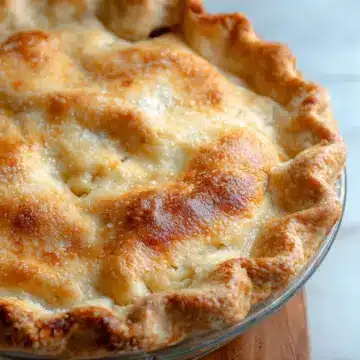
Creating a pie from scratch isn’t just about the filling; it’s about the experience, and that starts with the crust. An easy flaky butter pie crust is special for many reasons, but the main one is its texture. When baked, the layers of butter and flour create a delightful flaky, crispy exterior that contrasts beautifully with the creamy or fruity interiors of your favorite pies.
What Makes a Flaky Pie Crust So Special?
A flaky pie crust turns an ordinary dessert into something extraordinary. The secret lies in the technique of incorporating cold butter into the flour, creating pockets that puff up during baking. This method is backed by culinary experts who emphasize the importance of temperature and technique. For instance, a well-chilled dough can significantly improve flakiness (source: Fine Cooking).
Moreover, using high-quality ingredients, like unsalted butter and freshly sifted flour, enhances flavor and texture, making your pie crust both tasty and satisfying. Imagine cutting into your pie and seeing that perfect, golden crust with delicate layers—it's a rewarding sight and taste. Plus, mastering this skill opens up a world of possibilities in the kitchen, whether you're aiming to impress guests at a holiday gathering or simply indulging on a quiet evening at home.
Ready to dive into the world of pie with your own easy flaky butter pie crust? Let's get started!
Ingredients for Easy Flaky Butter Pie Crust
Essential Ingredients for Success
Creating the easy flaky butter pie crust starts with just a handful of essential ingredients that ensure a light, flaky texture. You'll need:
- All-purpose flour: 2 ½ cups provides the base for your crust. Make sure to spoon and level it for accurate measurement.
- Salt: A touch of flavor! Use ½ teaspoon of fine sea salt or 1 teaspoon of kosher salt.
- Cold unsalted butter: One cup, cut into cubes, is key. The colder the butter, the flakier your crust will be.
- Ice water: 6 to 8 tablespoons—or more if needed—brings the dough together without melting the butter.
These basic ingredients are the backbone of any great pie crust, so quality counts!
Optional Ingredients for Added Flavor
While the essentials are critical, there’s room to get creative! Consider adding:
- Sugar: A tablespoon enhances sweetness, especially for fruit pies.
- Vinegar or lemon juice: Just a splash can tenderize the dough and elevate that flaky goodness.
For more tips on pie crust perfection, check out Serious Eats. They feature an extensive guide on pie dough techniques. Happy baking!
Preparing Easy Flaky Butter Pie Crust
Creating a homemade easy flaky butter pie crust can elevate any pie—from rich fruit desserts to savory quiches. Follow these simple steps, whether you prefer using a food processor or getting hands-on with your ingredients. Let's get ready to impress!
Gather Your Tools and Ingredients
Before diving into the crust-making process, ensure you have everything you need at hand:
-
Tools:
-
Food processor (optional)
-
Mixing bowls
-
Rubber spatula
-
Rolling pin
-
Pie dish
-
Pastry blender (if making by hand)
-
Plastic wrap
-
Ingredients:
-
2 ½ cups all-purpose flour
-
½ teaspoon fine sea salt or 1 teaspoon kosher salt
-
1 tablespoon sugar (optional, but enhances flavor)
-
1 cup very cold unsalted butter, cut into cubes
-
6 to 8 tablespoons ice water
Having these in place will make the process smoother and more enjoyable.
Making Pie Dough in a Food Processor
Using a food processor can save time and ensure a uniform dough. Here’s how:
-
Combine Flour and Butter: Add 1 ½ cups of flour along with salt (and sugar, if using) to the bowl. Pulse to combine briefly, then scatter the cold butter cubes. Process for about 15 seconds until it resembles coarse crumbs. The mixture should take on a pale yellow hue.
-
Incorporate Remaining Flour: Scrape down the sides of the bowl, add the additional flour, and pulse 4-5 times. The dough should feel crumbly yet evenly mixed.
-
Forming the Dough: Move the mixture to a bowl and sprinkle 4 tablespoons of ice water. Use a spatula to bring the dough together. If it crumbles apart, add a bit more water until it holds together.
-
Chilling: Gently form the dough into a ball, split it in half, flatten each half into disks, wrap in plastic, and refrigerate for at least an hour.
Making Pie Dough by Hand
Prefer a more tactile experience? Here’s how to knead your dough manually:
-
Initial Mixing: In a bowl, mix 1 ½ cups flour with salt and sugar. Scatter the butter cubes, mixing gently with a fork, then use a pastry blender to cut in the butter until the mixture resembles breadcrumbs.
-
Add Flour: Add in the remaining flour, mixing just enough to incorporate. The result should have some visible butter pieces for that signature flakiness.
-
Water & Dough Formation: Similar to the food processor method, add ice water and mix until cohesive.
-
Chill the Dough: Form and wrap the dough just like before, regarding the time and storage.
Rolling Out Pie Dough
Once the dough has chilled, it’s time to roll it out:
-
Preparation: Allow the chilled disk to sit out for about 5 minutes. Sprinkle your work surface lightly with flour to prevent sticking.
-
Roll It Out: Roll the dough into a 12-inch circle, turning frequently to maintain an even thickness. Be sure to sprinkle additional flour underneath if needed.
-
Transfer to Pie Dish: Carefully use the rolling pin to transfer the dough to your pie dish, pressing it gently into place.
-
Crimps and Edges: Fold excess dough underneath itself, creating a thicker, more supportive edge that rests on the dish lip. Crimp in any design you love!
Preparing for Blind Baking
Blind baking is essential for ensuring your crust remains crisp:
-
Preheat & Pierce: Preheat your oven to 375°F (190°C) and pierce the base of your pie crust with a fork to prevent bubbles.
-
Line & Fill: Crumple a sheet of parchment, place it in the crust, and fill it with weights—either pie weights, dried beans, or rice.
-
Bake: Bake for about 15 minutes; remember, if your recipe requires a partially baked crust, just stop here.
Sealing and Crimping Edges for a Double Crust
If you’re making a double-crust pie, here's how to make those edges beautiful and secure:
-
Top Crust Addition: Roll out your second disk of dough, place it over the filling after preparing your bottom crust, and trim the excess.
-
Sealing: Fold the edges of the top crust over the bottom crust’s edges, creating a thicker seam, and crimp them together for a charming finish.
-
Chill Again: Let the completed pie rest in the fridge again for about 30 minutes before baking.
With these steps, you'll achieve a beautifully flaky, buttery crust that is sure to impress at any gathering. For additional tips on pie fillings and baking techniques, check out sources like Serious Eats or America's Test Kitchen for expert advice. Happy baking!
Variations on Easy Flaky Butter Pie Crust
Gluten-free Pie Crust Options
Craving that easy flaky butter pie crust but need a gluten-free alternative? No worries! You can substitute the all-purpose flour with a gluten-free flour blend that’s designed for baking. Brands like Bob’s Red Mill or King Arthur Flour offer great options that yield delicious results. Add a teaspoon of xanthan gum to help with texture and give your crust that lovely flakiness. Just remember to handle the dough gently, as it can be a bit more delicate than traditional flour.
Sweet Variations for Dessert Pies
For those sweet tooth moments, consider adding a touch of flavor to your easy flaky butter pie crust. You can mix in spices like cinnamon or nutmeg—perfect for apple or pumpkin pies. A tablespoon of vanilla extract or almond extract can also elevate your crust for dessert pies. Feeling adventurous? Try incorporating a zest of lemon or orange for a refreshing twist that pairs beautifully with fruit fillings. Check out The Kitchn for more ideas on flavoring your pie crust!
Cooking Tips and Notes for Easy Flaky Butter Pie Crust
Common Mistakes to Avoid
To achieve the perfect easy flaky butter pie crust, be cautious of a few common pitfalls. Overworking the dough can lead to a tough texture, so mix it just enough to combine ingredients. Also, using warm or room temperature butter can melt the fat, resulting in a less flaky crust. Make sure to keep everything cold for that dreamy, tender finish!
Essential Tips for Perfect Crust Texture
For a truly exceptional easy flaky butter pie crust, consider these tips:
- Chill Your Ingredients: Use very cold butter and water to help create the desired flaky layers.
- Don't Skip the Resting Time: Refrigerating the dough allows the gluten to relax, making it easier to roll out and enhancing flakiness.
- Experiment with Flour: For a different flavor and texture, try mixing in some whole wheat flour or a bit of almond flour.
For more expert advice, check out these great resources from Serious Eats and King Arthur Baking. Enjoy your baking!
Serving suggestions for Easy Flaky Butter Pie Crust
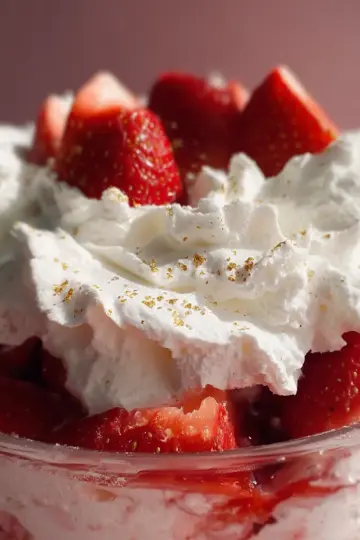
Ideal fillings for savory and sweet pies
When it comes to filling your easy flaky butter pie crust, the possibilities are endless! For savory pies, consider classic quiches filled with vegetables and cheese or a meaty delight featuring turkey bacon, chicken ham, or hearty beef fillings simmered in rich gravy. If you're leaning towards a sweet treat, fresh fruits like apples or berries are perfect, especially topped with a sprinkle of cinnamon for warmth.
For even more ideas, check out this article on great pie filling combinations. Don't forget about custards or creamy cheesecake fillings for a delightful finish! Your easy flaky butter pie crust will undoubtedly shine with any of these delicious choices.
Time Breakdown for Easy Flaky Butter Pie Crust
Preparation Time
Your adventure with the easy flaky butter pie crust starts with about 15-20 minutes of preparation. This includes measuring out your ingredients and mixing them up in either a food processor or by hand.
Chilling Time
Next comes the essential chilling time. Once your dough is formed into disks, you'll want to chill them in the fridge for at least 1 hour. This step is crucial for achieving that perfect flaky texture. If you're not in a hurry, feel free to keep the dough for up to 3 days to enhance its flavor.
Baking Time
Finally, when you're ready to bake, the time will vary depending on your specific pie recipe. For blind baking the crust, expect about 30-35 minutes in total — 15 minutes weighted and another 15-20 minutes until golden brown. Happy baking!
For more tips and tricks on pie making, check out resources like King Arthur Baking and Serious Eats!
Nutritional Facts for Easy Flaky Butter Pie Crust
Calories per serving
Each serving of this easy flaky butter pie crust (about one-eighth of the entire crust) packs approximately 345 calories. This makes it a delightful base for sweet or savory pies, adding richness and flavor without overwhelming your dish.
Total fat and carbohydrates
In terms of macronutrients, you’ll find that each serving contains 23 grams of total fat, with 15 grams being saturated fat. On the carbohydrate side, you can expect about 30 grams per serving. This balance allows for a wonderfully flaky texture while still complementing a variety of fillings.
For more detailed nutrition information, check out resources like the USDA National Nutrient Database or consult nutritionist websites to understand how this crust fits into your dietary goals. Enjoy baking!
FAQs about Easy Flaky Butter Pie Crust
How can I prevent my crust from shrinking?
Shrinking crusts can be a real head-scratcher, but fear not! To minimize shrinking, ensure you chill your dough thoroughly before baking, which helps the gluten relax. Another tip is to avoid stretching the dough when you place it in the pie dish—just gently press it in. If you blind bake, using pie weights can also help maintain its shape.
What is the best way to store leftover pie crust?
Leftover easy flaky butter pie crust can be wrapped tightly in plastic wrap and kept in the fridge for up to 3 days. If you want to save it for longer, shape the dough in your pie dish and freeze it uncovered until solid. Then, transfer it to a freezer-safe bag or wrap it well. It freezes beautifully for up to 3 months. Just thaw in the fridge before using!
Can I use other fats besides butter?
While butter gives that beloved flavor and flakiness, you can experiment with shortening or even lard for a different texture. Just remember, each fat will impart unique qualities to your crust. If you do switch things up, consider combining fats for a balanced result! For more tips on pie crust alternatives, check out Serious Eats.
If you have any more questions, feel free to ask!
Conclusion on Easy Flaky Butter Pie Crust
Creating an easy flaky butter pie crust can elevate your baking game like nothing else. With just a few simple ingredients and techniques, you'll achieve a crust that’s wonderfully buttery and flaky—perfect for any pie. So grab your rolling pin and get baking! Your taste buds will thank you.
Easy Flaky Butter Pie Crust
Equipment
- food processor
- Rolling Pin
- Pie Dish
- Plastic wrap
- parchment paper
Ingredients
Dough Ingredients
- 2.5 cups all-purpose flour spooned and leveled
- 0.5 teaspoon fine sea salt
- 1 tablespoon sugar optional
- 1 cup unsalted butter very cold, cut into ½-inch cubes
- 6-8 tablespoons ice water or more as needed
Instructions
Making Pie Dough in a Food Processor
- Combine the first portion of flour and butter by adding 1 ½ cups of flour, salt, and sugar to your food processor. Pulse a few times to combine, then scatter cold butter cubes over the mixture. Process for about 15 seconds until a dough or paste forms.
- Add the remaining flour by scraping down the processor bowl and then adding the rest of the flour. Pulse 4 to 5 times until the dough looks broken up and crumbly.
- Add water and bring the dough together by transferring the mixture to a bowl and adding 4 tablespoons of ice water. Use a spatula to press the dough together. If it falls apart, add more water as needed.
- Form and chill the dough by shaping it into a ball, cutting in half, flattening each into a disk, wrapping tightly in plastic, and refrigerating for at least 1 hour.
Making Pie Dough By Hand
- Combine the first portion of flour and butter in a bowl, whisk flour, salt, and sugar together, and coat butter cubes. Use a pastry blender to cut butter until it resembles breadcrumbs.
- Add the remaining flour and blend until evenly distributed. The mixture should look crumbly with pea-sized butter pieces.
- Add water and bring the dough together using the same method as described for food processor preparation.
- Form and chill the dough following the same steps as above.
Rolling Out Pie Dough
- Prepare the dough by letting a disk sit at room temperature for 5 minutes and flouring the surface.
- Roll the dough out to a 12-inch circle, checking to ensure it isn’t sticking.
- Transfer to the pie dish by rolling the dough onto your pin and unrolling it over the dish.
- Crimp the edges by folding any excess dough under itself and pressing to create a thicker border.
- For a double-crust pie, roll out the second disk, fill, and place over the top, crimping the edges together.
- Chill the unbaked crust for at least 30 minutes.
How to Blind Bake Pie Crust
- Preheat the oven to 375°F (190°C).
- Bake the crust for 15 minutes with parchment and weights for a partially-baked crust.
- For a fully baked crust, remove weights, return to oven, and bake until golden brown for another 15 to 20 minutes.
- For a shiny finish, brush with an egg wash and bake for an additional 5 to 8 minutes.
How to Make a Double Crust Pie
- Roll out the bottom crust and place in the dish. Roll the second disk and place it on top, trimming excess.
- Seal the edges by folding and crimping, then refrigerate for 30 minutes before baking.
- Before baking, brush the top with an egg wash, sprinkle with sugar, and vent with slits.


Leave a Reply