
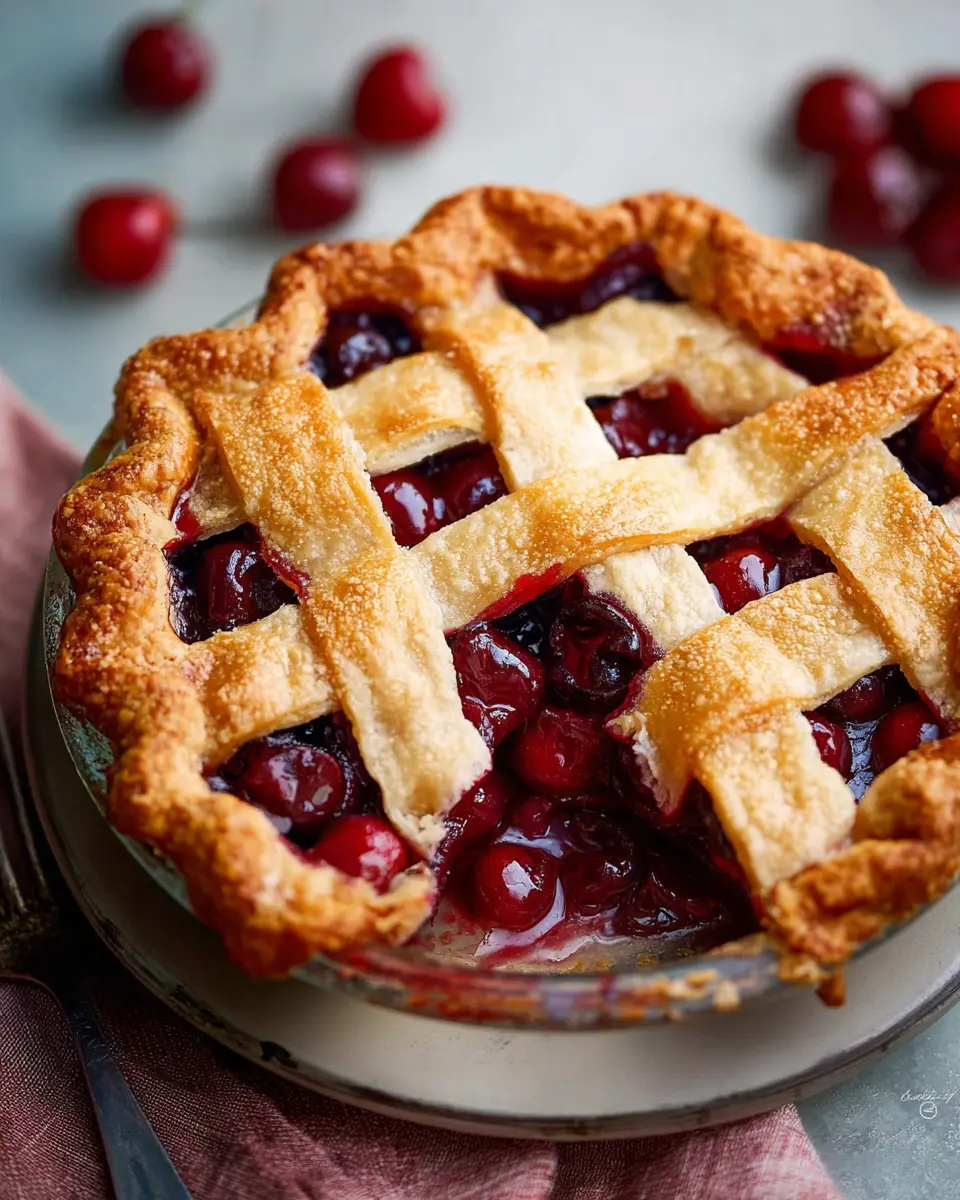
Why Homemade Cherry Pie Rocks!
There’s something truly magical about a Homemade Cherry Pie that makes it stand out from store-bought options. Let’s start with the freshness of ingredients. When you use perfectly ripe, seasonal cherries, the flavors burst in every bite, taking you right back to sunny days and cherished family gatherings.
Making cherry pie at home isn’t just about the taste, though. It’s a delightful experience that invites creativity. Mastering the art of pie crusts, whether you opt for a flaky butter crust or a classic blend, gives a sense of accomplishment. Plus, who can resist the satisfaction of weaving a beautiful lattice crust? It's like a piece of art you can eat!
Family recipes often elicit stories, laughter, and connections. Simply gathering your favorite people in the kitchen to bake a pie creates lasting memories. And let’s not forget the heavenly aroma that fills your home while it bakes. It's a warm invitation that brings everyone to the table.
With a little time and some good company, you can create a decadent Homemade Cherry Pie that celebrates the joys of life. So gather those ingredients—your kitchen is about to become a cherry pie haven! For more tips and tricks, check out Sally's Baking Addiction for pie crust guidance here.
Ingredients for Homemade Cherry Pie
Essential ingredients you’ll need
To whip up a delightful Homemade Cherry Pie, gather the following essential ingredients:
- Homemade Pie Crust or All Butter Pie Crust (1 for the bottom and 1 for the top)
- 4½ cups halved & quartered fresh cherries
- ⅔ cup granulated sugar
- ¼ cup cornstarch
- 1 tablespoon lemon juice
- 1 teaspoon pure vanilla extract
- ¼ teaspoon almond extract
- 1 tablespoon cold unsalted butter, cut into small cubes
- Egg wash: 1 large egg beaten with 1 tablespoon milk
- Optional: coarse sugar for sprinkling on the crust
These ingredients come together to create a tasty cherry filling nestled in a flaky crust that’s simply irresistible!
A note on choosing cherries
When it comes to selecting cherries for your pie, opt for fresh, ripe ones—about 1.5 lbs should do the trick. Dark sweet cherries are a popular choice for their rich flavor, but don’t hesitate to mix in some Rainier cherries for a sweeter touch. If you find yourself in a pinch, frozen cherries work as well; just remember to halve and quarter them while still frozen! For sour cherries, you might want to increase the sugar to balance the flavor. For more tips on selecting quality fruit, check out The Spruce Eats.
Enjoy creating your Homemade Cherry Pie—it’s sure to be a hit!
Step-by-Step Preparation of Cherry Pie
Making a homemade cherry pie isn't just about baking; it's a culinary adventure that evokes nostalgia and comfort. Here’s a friendly step-by-step guide to help you create the perfect homemade cherry pie, filled with sweet, juicy cherries and a flaky crust that's bound to impress.
Make the crust
The crust is the foundation of your homemade cherry pie, so it’s important to get it right. You can choose between a classic Homemade Pie Crust or the rich All Butter Pie Crust—both work beautifully. Start by preparing the dough and chilling it in the refrigerator for at least two hours. This step ensures a tender, flaky crust. If you're short on time, you can opt for store-bought crusts, but trust us, homemade really delivers!
Prepare the cherry filling
In a large mixing bowl, combine 4 and ½ cups of pitted, halved, and quartered fresh cherries with ⅔ cup granulated sugar, ¼ cup cornstarch, 1 tablespoon of lemon juice, 1 teaspoon of pure vanilla extract, and a hint of almond extract. Mix until everything is well coated. Cover this mixture and let it chill in the fridge while you roll out the dough, which will deepen the flavors. If you want to prep ahead, this filling can be stored in the refrigerator for up to 24 hours.
Roll out your dough
Once the pie crust has chilled, it’s time to roll it out. On a floured work surface, take one disc of your chilled dough and roll it into a circle about 12 inches in diameter. Turn the dough often to maintain its shape. Gently transfer the dough into a 9-inch pie dish, then tuck it in and smooth it out. Now, take a slotted spoon and fill the crust with your cherry mixture, reserving any extra juice for later. Refrigerate the pie while you prepare the top crust.
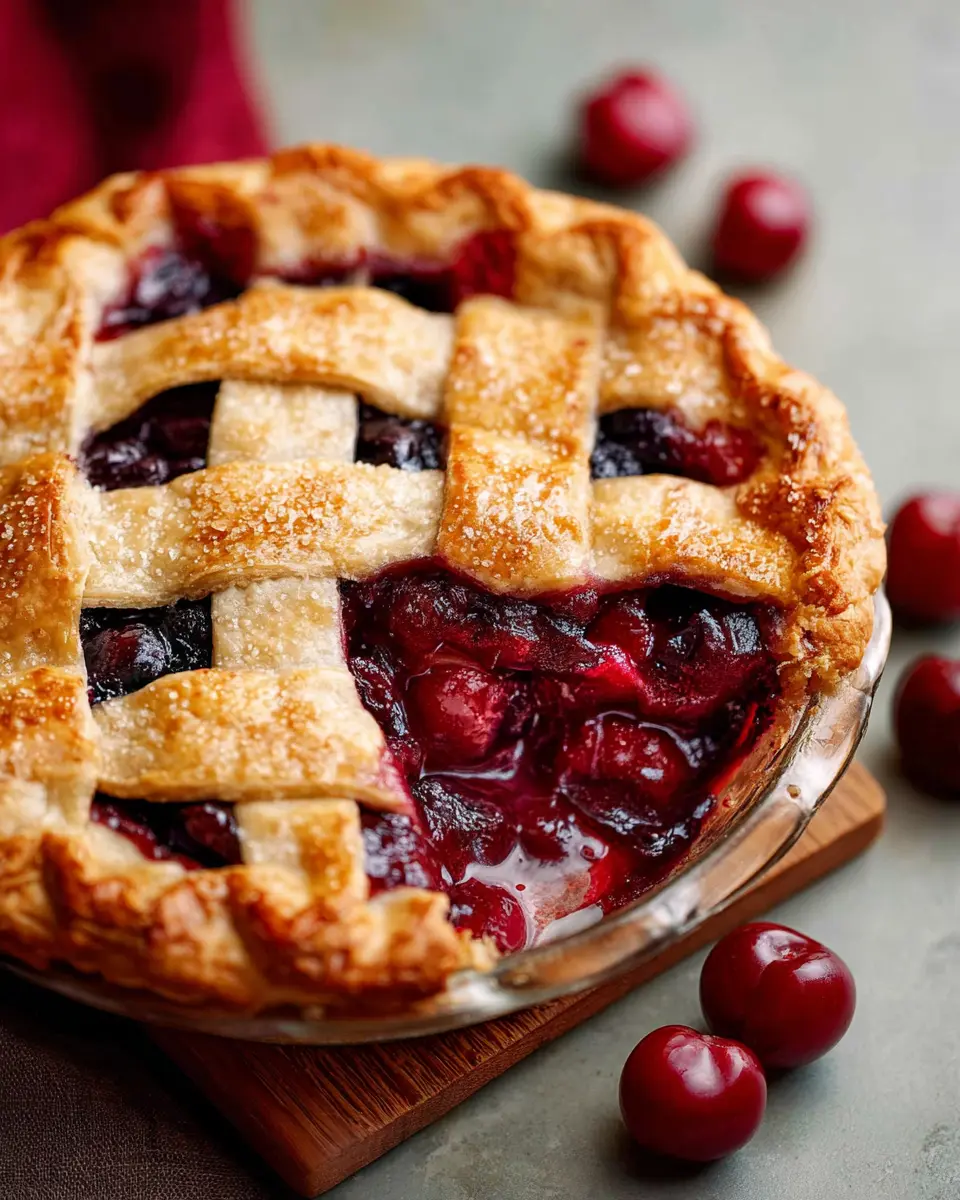
Assemble the pie
To create a lovely lattice top for your cherry pie, take the second disc of dough and roll it out like the first. Cut it into strips (you’ll need both wide and narrow for the best effect). Begin weaving the strips over and under one another, and once done, press the edges together to seal. If the edges begin to overhang, trim them with kitchen shears. This step not only looks beautiful but allows the delicious cherry filling to peek through.
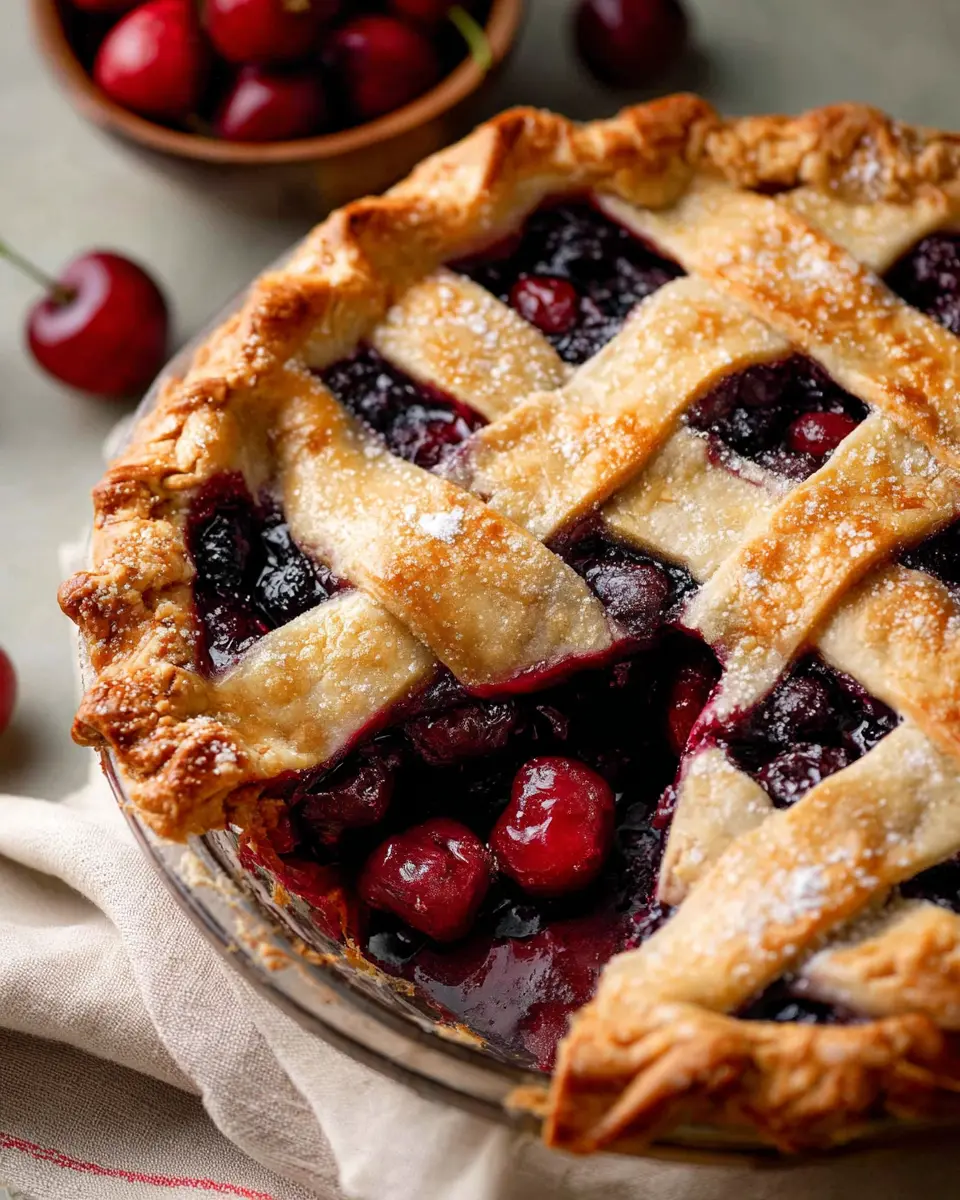
Bake to perfection
Preheat your oven to 400°F (204°C). Place the assembled pie on a baking sheet and bake for 20 minutes. Then, lower the temperature to 375°F (190°C) and continue baking for 30-40 minutes, keeping an eye on it until the crust is golden brown and the cherry juices are bubbling. For best results, let the pie cool for a few hours before slicing—this allows the filling to set, ensuring every slice is perfect.
And there you have it! Your own homemade cherry pie, ready to be enjoyed with family and friends. It’s a satisfying process that’s sure to fill your kitchen with delightful aromas and your heart with warmth.
Variations on Homemade Cherry Pie
Cherry Pie with Almond Flavor
Elevate your homemade cherry pie by adding a hint of almond extract to your filling. Almond complements the natural sweetness of the cherries beautifully, creating a rich, sophisticated flavor. Simply increase the almond extract to ½ teaspoon, and watch your friends and family rave about this delightful twist!
Mixed Berry Cherry Pie
Combine the best of both worlds with a mixed berry cherry pie. Replace half of the cherries with fresh strawberries, blueberries, or even raspberries to introduce a medley of flavors. The tartness of the berries perfectly balances the sweetness of the cherries, making every slice a vibrant explosion of fruitiness. This variation is perfect for summer gatherings or seasonal celebrations!
For more pie secrets and ideas, check out these resources on baking tips and seasonal fruit pairings.
Cooking Tips and Notes for Cherry Pie
Creating the perfect Homemade Cherry Pie is a rewarding experience, but it can come with its nuances. Here are some helpful tips to ensure your pie is a standout:
-
Choose Your Cherries Wisely: Opt for a mix of dark sweet cherries and Rainier cherries for added flavor complexity. If using sour cherries, adjust the sweetness by increasing sugar to ¾ or 1 cup.
-
Juice Reduction: Don't skip reducing the cherry juice! It thickens the filling and enhances the flavor. This step is essential for preventing a soggy crust.
-
Crust Know-How: For a golden-brown finish, consider using a pie crust shield during the last half of baking to avoid over-browning.
-
Chill Your Dough: Always allow your pie dough to chill before rolling; this helps achieve a flaky texture.
With these tips, your Homemade Cherry Pie will impress family and friends alike! Happy baking!
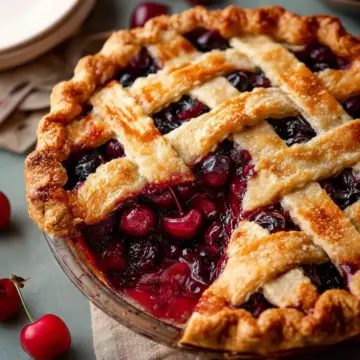
Homemade Cherry Pie
Equipment
- Rolling Pin
- 9-inch pie dish
- small saucepan
- Pastry brush
- Pastry Wheel or Pizza Cutter
- cooling rack
Ingredients
Pie Crust
- 1 batch Homemade Pie Crust (or All Butter Pie Crust)
- 4.5 cups fresh cherries halved & quartered, pitted
- ⅔ cup granulated sugar
- ¼ cup cornstarch
- 1 Tablespoon lemon juice
- 1 teaspoon pure vanilla extract
- ¼ teaspoon almond extract
- 1 Tablespoon cold unsalted butter cut into small cubes
- 1 large egg beaten with 1 Tablespoon milk for egg wash
- coarse sugar for sprinkling on crust (optional)
Instructions
Preparation
- Prepare either pie crust recipe through step 5. The pie dough needs to chill in the refrigerator for at least 2 hours before using.
- In a large bowl, stir the cherries, sugar, cornstarch, lemon juice, vanilla, and almond extract together until thoroughly combined. Cover the filling and place in the refrigerator as you roll out the pie dough (or for up to 24 hours).
- On a floured work surface, roll out one of the discs of chilled dough (keep the other one in the refrigerator) into a 12-inch circle. Place the dough into a 9-inch pie dish.
- Transfer the cherries into the crust, reserving the juice in the bowl. Refrigerate pie, uncovered, as you reduce the juice in the next step.
- Pour the leftover juice into a small saucepan. Cook over low heat, stirring, until the juice has slightly reduced and thickened, about 3–4 minutes. Cool for 5 minutes, then pour over cherries in filling. Dot pieces of cold butter on top.
- Remove the other disc of pie dough from the refrigerator. Roll it into a circle 12 inches in diameter. Cut the dough into strips and weave them over and under each other to form a lattice.
- Brush the top crust with egg wash and sprinkle with coarse sugar if using. Chill the pie in the refrigerator for 20–30 minutes while preheating the oven.
- Preheat oven to 400°F (204°C). Place the pie onto a large baking sheet.
- Bake for 20 minutes. Reduce temperature to 375°F (190°C) and bake for an additional 30–40 minutes until the crust is golden brown and the juices are bubbling.
- Remove pie from the oven, place on a cooling rack, and cool for at least 3–4 hours before slicing.
- Cover leftovers tightly and store in the refrigerator for up to 5 days.


Leave a Reply