
Introduction to No Bake Snack Squares
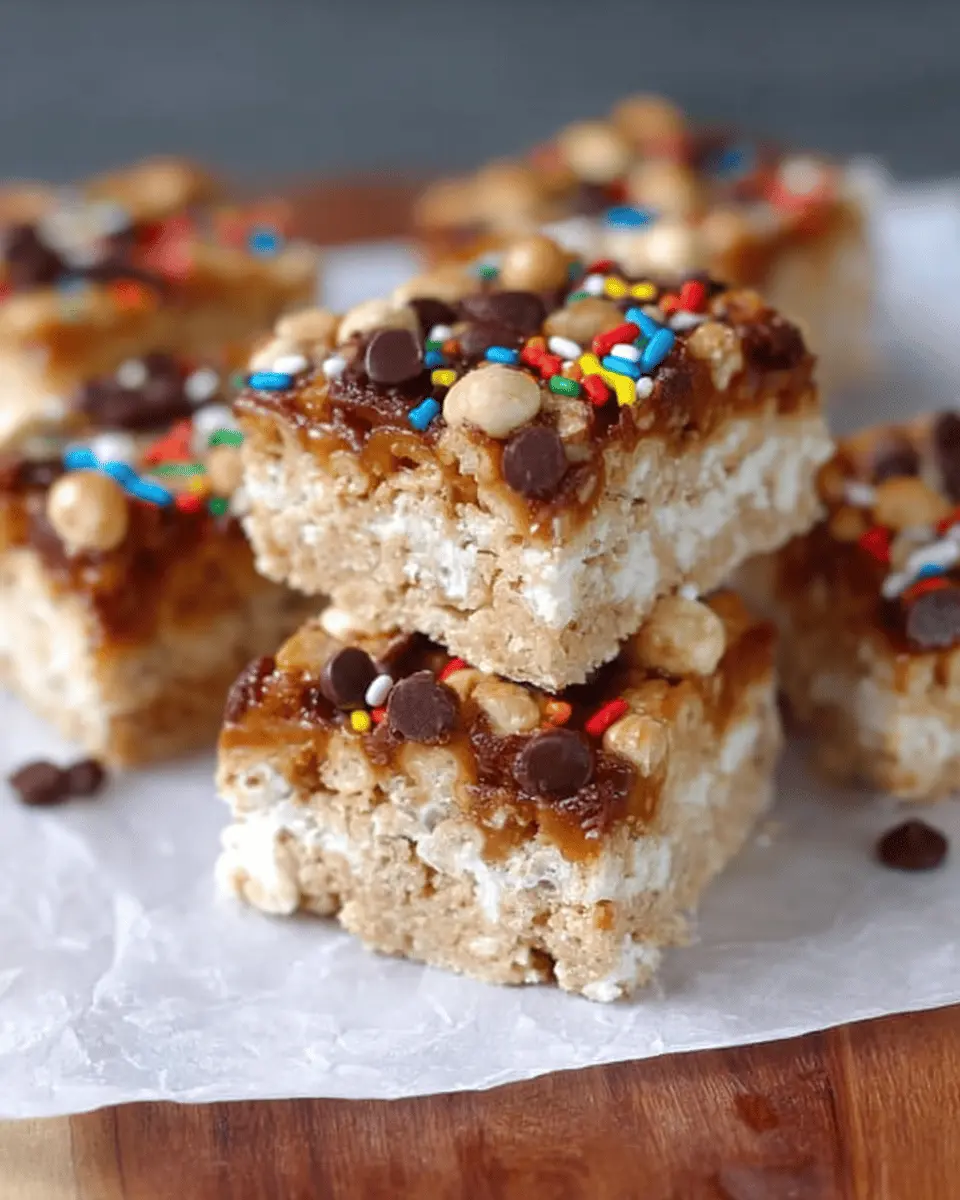
As a young professional juggling multiple responsibilities, finding quick yet satisfying snacks can be a challenge. Enter no bake snack squares—the ultimate solution for a busy lifestyle. These delightful little treats are not only incredibly simple to make but also require no baking, so you can whip them up in minutes and move on with your day.
Why are these snack squares a game changer? For starters, they come together in just about 10 minutes of prep and 20 minutes of set time. Imagine coming home after a long day, tossing some ingredients into a bowl, and knowing you’ll have delicious snacks waiting for you in no time! They’re made with wholesome ingredients like oats and peanut butter, making them a healthier option for those late-afternoon cravings when sugar-sweetened snacks seem all too tempting.
Plus, with customizable add-ins like pretzels and chocolate candies, you can tailor these squares to your taste preferences. Not to mention, these delicious morsels are perfect for meal prepping—just cut them into squares and grab one on your way out the door!
Want to learn how to make these fantastic treats? Let’s dive into the recipe!
Ingredients for No Bake Snack Squares
Creating delicious no bake snack squares starts with gathering the right ingredients. Here’s what you’ll need to bring this delightful recipe to life:
- 2 cups Rice Krispies Cereal: These provide a satisfying crunch that holds everything together.
- 2 cups quick oats: Packed with fiber, oats boost texture and nutritional value.
- 1 cup coarsely crushed pretzels: Offering a salty punch, pretzels balance the sweetness and add a fun crunch.
- ½ cup packed light brown sugar: This adds a caramel-like sweetness that complements the peanut butter beautifully.
- ½ cup light corn syrup: This is vital for binding the ingredients together and keeping the squares chewy.
- ½ cup creamy peanut butter: A favorite for many, peanut butter gives these squares their rich, nutty flavor.
- 1 teaspoon vanilla extract: A splash of vanilla enhances the overall aroma and taste.
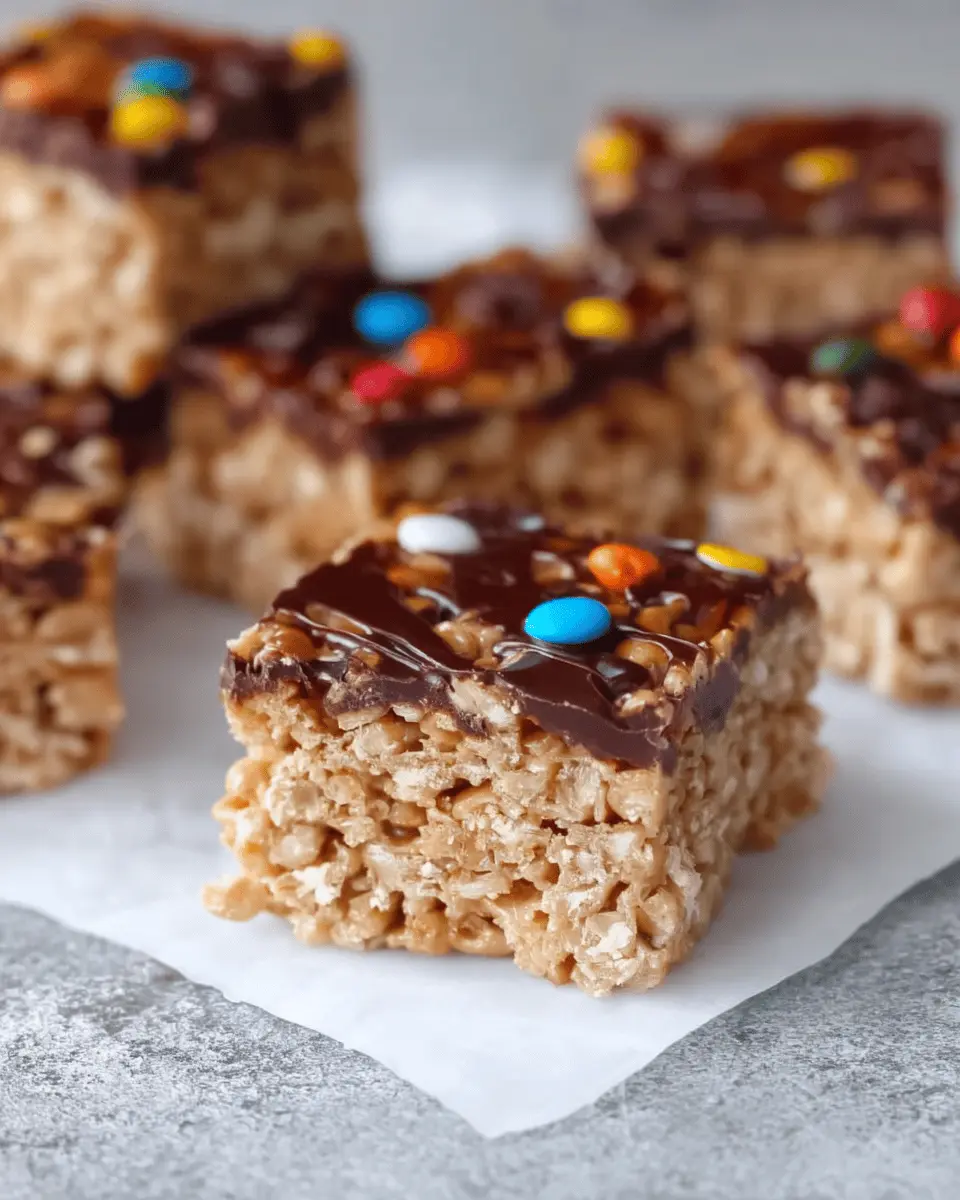
- ½ cup mini M&M’s: These colorful treats not only add sweetness but also make the snack bars visually appealing.
Gathering these ingredients is just the first step on your journey to enjoying these no-bake wonders! By using whole, simple components, you can delight your friends and family with a homemade treat that's both satisfying and easy to prepare. For more tips on ingredient selection, check out resources from Healthline to ensure you're maximizing nutritional benefits!
Step-by-Step Preparation of No Bake Snack Squares
Making no bake snack squares is not only quick and fun, but it’s also a delicious way to satisfy your sweet cravings! These snack bars are perfect for busy young professionals looking for an easy treat. Let's dive into the preparation process together.
Gather Your Ingredients
Before you start, make sure you have all your ingredients ready. Here’s a quick list:
- 2 cups Rice Krispies Cereal
- 2 cups quick oats
- 1 cup coarsely crushed pretzels
- ½ cup packed light brown sugar
- ½ cup light corn syrup
- ½ cup creamy peanut butter
- 1 teaspoon vanilla extract
- ½ cup mini M&M’s
Having everything within arm's reach not only speeds up your preparation but adds an element of fun to the cooking experience. Plus, check out this article on ingredient substitutions if you’re missing anything!
Prepare the Baking Dish
Start by prepping your baking dish. Grab a 9 x 13 inch pan and line it with foil or parchment paper. Whichever you choose, make sure to coat it with cooking spray to prevent your squares from sticking. This little step can save you a lot of frustration later!
Mix the Dry Ingredients
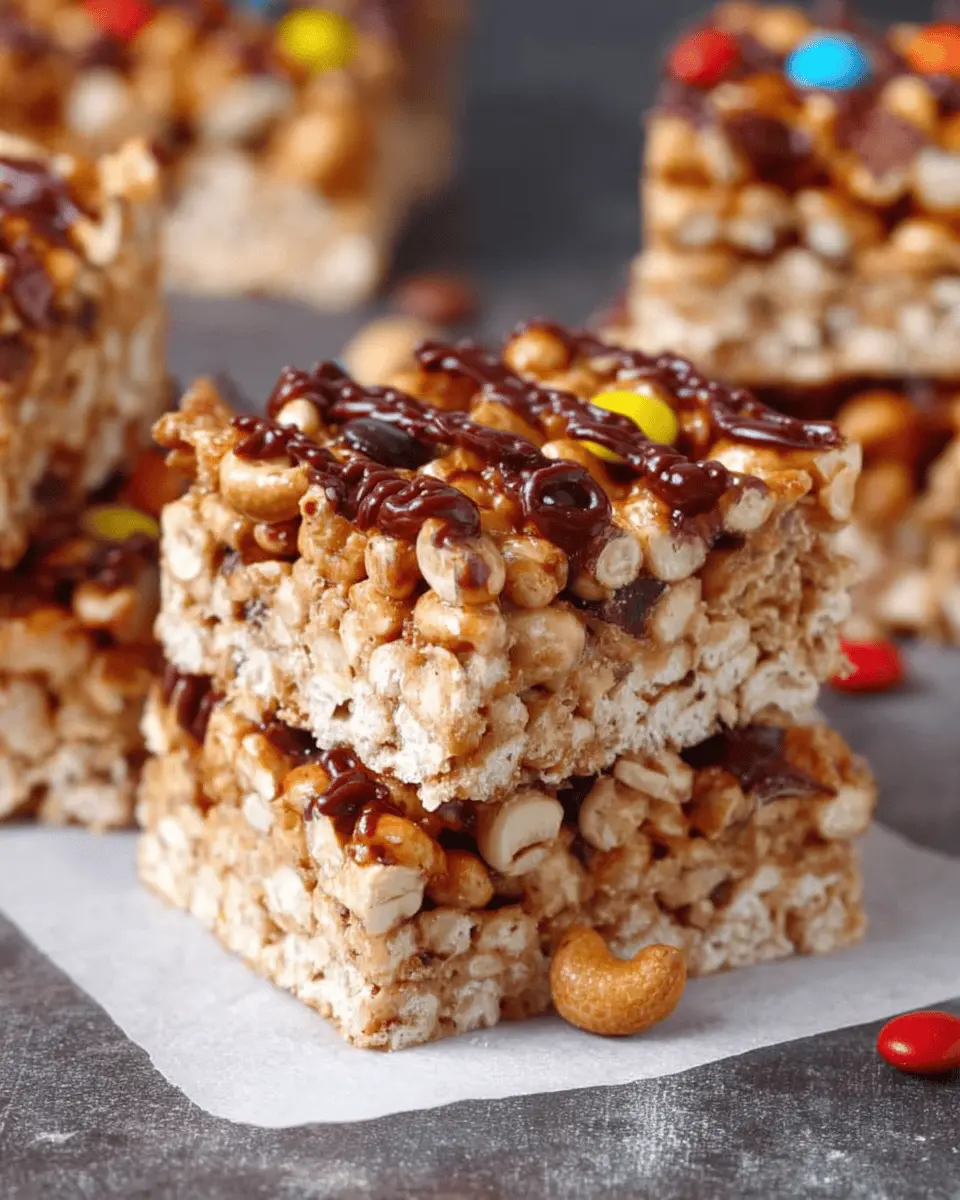
In a large bowl, combine your dry ingredients: the Rice Krispies, quick oats, and coarsely crushed pretzels. Stir them well to ensure an even mix. The combination of texture from the pretzels and the crunchiness of the cereal is what makes these no bake snack squares so irresistible!
Heat and Combine the Wet Ingredients
Next, it’s time for the good stuff! In a small saucepan, combine the light brown sugar and light corn syrup. Heat this mixture over medium heat, stirring frequently until it reaches a gentle boil. As soon as it bubbles, remove it from the heat and stir in the creamy peanut butter and vanilla extract. This creates a rich, gooey mixture that binds the ingredients together!
Combine and Press Into the Dish
Pour the hot peanut butter mixture over the dry cereal-pretzel mix. Stir this up vigorously until everything is evenly coated. Transfer the mix to your prepared baking dish, pressing it down firmly to create an even layer. Don't forget to sprinkle the mini M&M’s on top and press them in slightly for a pop of color and sweetness.
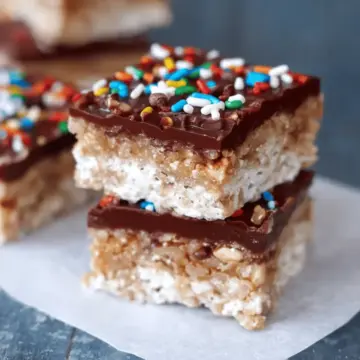
Cool and Cut into Squares
Let your creation cool completely. This usually takes about 20 minutes, but you can speed it up by placing it in the fridge. Once cooled, carefully lift the mixture out using the foil or parchment paper and slice it into squares. Your delicious no bake snack squares are ready to be enjoyed!
Now you have your very own batch of no bake snack squares, perfect for snacks, lunches, or even a late-night treat! Share them with friends or keep them all to yourself—we won’t judge!
Variations on No Bake Snack Squares
Peanut Butter Chocolate Chip Version
If you're a fan of chocolate and peanut butter, you’ll love this twist on the classic no bake snack squares. Simply swap out half of the mini M&M's for semi-sweet chocolate chips for a delightful, gooey treat. The combination of flavors creates a rich, indulgent snack that’s perfect for satisfying your sweet tooth. Want to elevate it even further? Add a sprinkle of sea salt on top before chilling for that perfect sweet-and-salty balance.
Nut-Free Alternative
For those with nut allergies or a preference for nut-free options, this no bake snack squares variation is a game changer. Replace the peanut butter with sun butter or a soy-based spread. Using these alternatives still guarantees a soft, chewy texture while keeping your snack bar deliciously rich. You can also add dried fruits like cranberries or apricots for an extra fruity burst, making these snack squares both enjoyable and allergy-friendly.
Whether you choose the chocolate chip version or opt for a nut-free recipe, these variations are sure to please everyone at your next gathering!
Cooking Tips and Notes for No Bake Snack Squares
Creating these delicious no bake snack squares is a breeze, but a few tips can elevate your experience.
- Ingredient Choices: Opt for creamy peanut butter for optimal consistency. If you're feeling adventurous, try almond butter for a nutty twist!
- Pressing Down: When flattening the mixture in your baking dish, use a piece of wax paper to prevent sticking and ensure even pressing.
- Chill Time: Allow ample time for your squares to cool completely; this helps them set better. You can speed up the process by refrigerating them for 10 minutes.
For more helpful tips, check out resources from Food Network and Bon Appétit. Enjoy your seamless snacking!
Serving Suggestions for No Bake Snack Squares
When it comes to serving your no bake snack squares, the possibilities are endless! These delightful treats can be enjoyed in various ways, making them perfect for any occasion.
- Pair with Fresh Fruits: Serve your snack squares alongside sliced apples or bananas for a refreshing twist.
- Enjoy with a Dip: Try a side of yogurt or peanut butter for an extra protein boost.
- Make it a Snack Board: Slice up the squares and arrange them on a platter with nuts, dark chocolate, and dried fruits.
These no bake snack squares are not just a quick dessert—they're the ultimate treat for sharing at parties or enjoying after a workout. Want more ideas? Check out these creative serving suggestions to elevate your snack game!
Time Breakdown for No Bake Snack Squares
Preparation Time
Getting started on your no bake snack squares takes just about 10 minutes. This includes gathering your ingredients and mixing them all together. It’s so quick that you might even find yourself enjoying a little dance in the kitchen while you work.
Set Up Time
After mixing, you’ll want to give your no bake snack squares about 20 minutes to set up in the fridge. This allows all the delicious flavors to meld while also giving them a stable form for cutting later.
Total Time
In just 30 minutes, you'll have these sweet treats ready to go—10 minutes of prep and 20 minutes of patiently waiting. It’s perfect for when you need a sweet snack but don’t have a lot of time.
With just a few simple steps and minimal time investment, you’ll be able to whip up a batch of these delightful squares. Perfect for parties, road trips, or just a cozy night in! If you’re looking for a fun twist or additional ideas, don't hesitate to check out some variations on Youthful Kitchen and Snack Finds for inspiration.
Nutritional Facts for No Bake Snack Squares
When whipping up these tempting no bake snack squares, knowing their nutritional content helps you enjoy them guilt-free! Each square packs approximately:
Calories
With only 117 calories per square, these treats are a delightful way to satisfy your sweet cravings without derailing your diet.
Protein
Every square provides 2 grams of protein, making them a convenient snack to keep your energy levels up throughout the day. Consider pairing them with a piece of fruit or yogurt for a balanced snack!
Sugar
Containing 11 grams of sugar, these squares incorporate a subtle sweetness that is perfect for a quick indulgence. Opt for a sugar-free chocolate alternative if you’re looking to cut back on sugar while still enjoying this treat.
For a deeper dive into the benefits of ingredients, check out this resource on nutrition or explore ways to modify the sugar content using natural alternatives like honey or maple syrup. Enjoy your no bake snack squares with confidence!
FAQs about No Bake Snack Squares
Can I use different types of cereal in this recipe?
Absolutely! One of the great things about these no bake snack squares is their versatility. Feel free to experiment with different cereals, such as Cheerios, Special K, or even granola. Just make sure whatever cereal you choose complements the texture and flavor of the other ingredients. You might discover a new favorite combination!
How should I store these snack squares for freshness?
To keep your no bake snack squares fresh, store them in an airtight container at room temperature for up to a week. If you need them to last longer, you can refrigerate them in a sealed container for about two weeks. Just be sure to let them come to room temperature before enjoying for the best texture.
What are some creative add-ins I can incorporate?
Get creative! You can add a variety of delicious elements to your no bake snack squares, such as:
- Chopped nuts (like almonds or walnuts)
- Dried fruits (like cranberries or raisins)
- Coconut flakes
- Seeds (such as chia or flaxseed)
- Peanut or almond butter drizzles
These delicious add-ins can enhance flavor and boost nutritional value, making your snack squares even more appealing!
Conclusion on No Bake Snack Squares
These no bake snack squares are not only delicious, but they also bring a fun and simple way to satisfy your sweet tooth. Perfect for on-the-go snacking or sharing at gatherings, they're a versatile treat the whole family can enjoy. Give them a try, and elevate your snack game today!
No Bake Snack Squares: Easy, Healthy Treats for Everyone
Equipment
- 9 x 13 inch baking dish
- small saucepan
- large bowl
Ingredients
- 2 cups Rice Krispies Cereal
- 2 cups quick oats
- 1 cup coarsely crushed pretzels
- ½ cup packed light brown sugar
- ½ cup light corn syrup
- ½ cup creamy peanut butter
- 1 teaspoon vanilla extract
- ½ cup mini M&M’s
Instructions
- Line a 9 x 13 inch baking dish with foil and coat it with cooking spray. I used parchment, either works great. Set aside.
- In a large bowl, combine the Rice Krispies, oats and pretzels. Set aside.
- In a small saucepan, combine the brown sugar and corn syrup and bring to a boil over medium heat, stirring frequently. Remove from the heat and stir in the peanut butter and vanilla.
- Pour the peanut butter mixture over the cereal-pretzel mixture and stir until evenly coated. Pour all of this into the prepared pan and press down to make level. Immediately press the mini M&M’s into the top.
- Allow to cool completely before cutting into squares.
Leave a Reply