
Introduction to The Pioneer Chili
There's something undeniably comforting about a steaming pot of chili simmering on the stove, and The Pioneer Chili is no exception. With its rich flavors and hearty ingredients, this recipe stands as a testament to why homemade chili always wins over fast food. Think about it: instead of reaching for a drive-thru burger or a pre-packaged bowl, why not enjoy a freshly made meal with quality ingredients, packed with nutrients? When you control what goes into your dish, you're not just ensuring better taste, but you're also making a healthy choice.
Each ingredient in The Pioneer Chili serves a purpose, from the savory ground beef to the vibrant bell peppers and flavorful spices. This dish is highly customizable, which means you can tailor it to your taste preferences or dietary needs. Want it spicier? Just add more chili powder! Not a beef lover? Swap it for ground turkey or a plant-based alternative – the options are endless!
For more tips on enhancing the nutritional value of your meals or exploring the world of homemade chili, check out resources like American Heart Association or Harvard Health Publishing. Embrace the culinary adventure of making your own Pioneer Chili, and you'll find it surpasses anything you can throw in a microwave. So roll up your sleeves; it’s time to cook!
Ingredients for The Pioneer Chili
Essential ingredients for a hearty chili
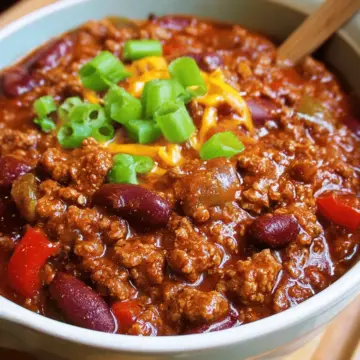
To create The Pioneer Chili, you’ll need a solid base of ingredients that come together for a satisfying meal. Start with 2 lbs of ground beef or turkey—this provides a rich flavor and protein boost. You'll also want 1 small diced onion and 1 green bell pepper to add sweetness and a lovely crunch. Don't forget 3 cloves of minced garlic. It’s the secret ingredient that elevates the dish!
Add in two cans of diced tomatoes and one can of tomato sauce for that essential tomato backbone. A couple of cups of beef broth will enhance the depth, while kidney and pinto beans create heartiness. Spice it up with 2-3 tablespoon of chili powder, some cumin, and optional cayenne for those who like it fiery. Balance the flavors with salt and pepper to taste.
Toppings to consider for extra flavor
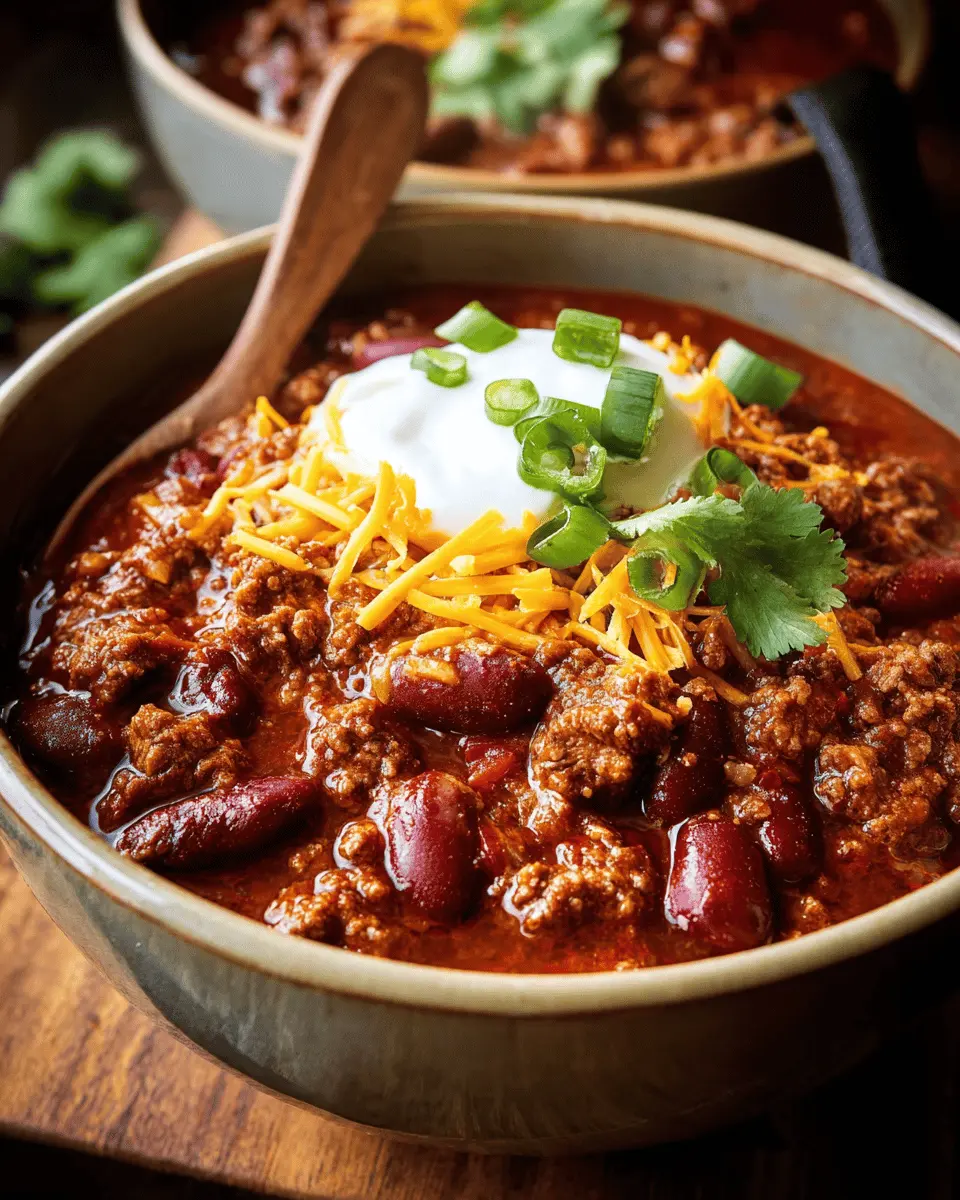
Elevate your chili experience with a variety of toppings. Think shredded cheese for a creamy texture, sour cream for a cooling contrast, or sliced green onions for a fresh bite. For those who enjoy a bit more flair, consider adding avocado slices or even crunchy tortilla chips. These toppings not only enhance the flavor but also create a more visually appealing dish.
Whether you're enjoying a cozy dinner or hosting a game night, customizing your chili with your favorite toppings can make the meal even more satisfying!
Preparing The Pioneer Chili
Making The Pioneer Chili is a delightful journey that brings warmth and comfort to your kitchen. So let's dive into each step to ensure your chili turns out just right!
Prep Your Ingredients
Before you turn on the stove, it’s essential to have everything ready to go. Dice your onion and green bell pepper, and mince the garlic. Measuring out your spices can be a game-changer; it helps the whole process run smoothly. Think of it as prepping for your favorite cooking show, where everything is neatly arranged and ready to be transformed into a culinary masterpiece!
Brown the Meat
The next step is to build that rich flavor base. In a large Dutch oven or heavy-bottomed pot, heat a tablespoon of oil over medium heat. Add the ground beef (or turkey) and cook it until it’s beautifully browned, about 5-7 minutes. Break it apart with a wooden spoon as it cooks. Once you’re satisfied, drain any excess fat and set the meat aside. This step is crucial because the browned bits, called fond, will add depth to The Pioneer Chili.
Sauté the Vegetables
Using the same pot allows you to retain those lovely flavors. Toss in the diced onion, bell pepper, and minced garlic, and sauté for about 3-5 minutes. You’ll know it’s ready when the veggies soften and the aroma of garlic fills the air. There’s something magical about how these simple ingredients transform under heat!
Build the Base
Next, return the browned meat to the pot. This is where we introduce the star players: stir in chili powder, cumin, paprika, and optional cayenne pepper along with salt and black pepper. Allow this mixture to cook for 1-2 minutes, toasting the spices. This is what will really make The Pioneer Chili sing with flavor!
Add the Tomatoes and Broth
Now it’s time for the quintessential part of any chili. Pour in the diced tomatoes with their juices, tomato sauce, and beef broth. Stir everything together and bring it to a simmer over medium-high heat. The colors in the pot are breathtaking, and the excitement builds as you know rich flavors are awaiting you.
Let It Simmer
Once simmering, reduce the heat to low. Cover the pot and let the chili work its magic for about 45 minutes. This step allows all the flavors to meld beautifully, enriching the overall taste of The Pioneer Chili. Can you already smell it?
Add the Beans
After your chili has simmered, it's time to add the kidney and pinto beans. Stir them in and allow everything to simmer for another 15 minutes. This addition not only boosts the heartiness of the dish but also adds great texture.
Taste and Adjust
Finally! Give your chili a taste test. It’s the perfect time to adjust the seasoning if needed. A little more salt, pepper, or even a touch more chili powder can elevate the dish even further.
Serve and Enjoy!
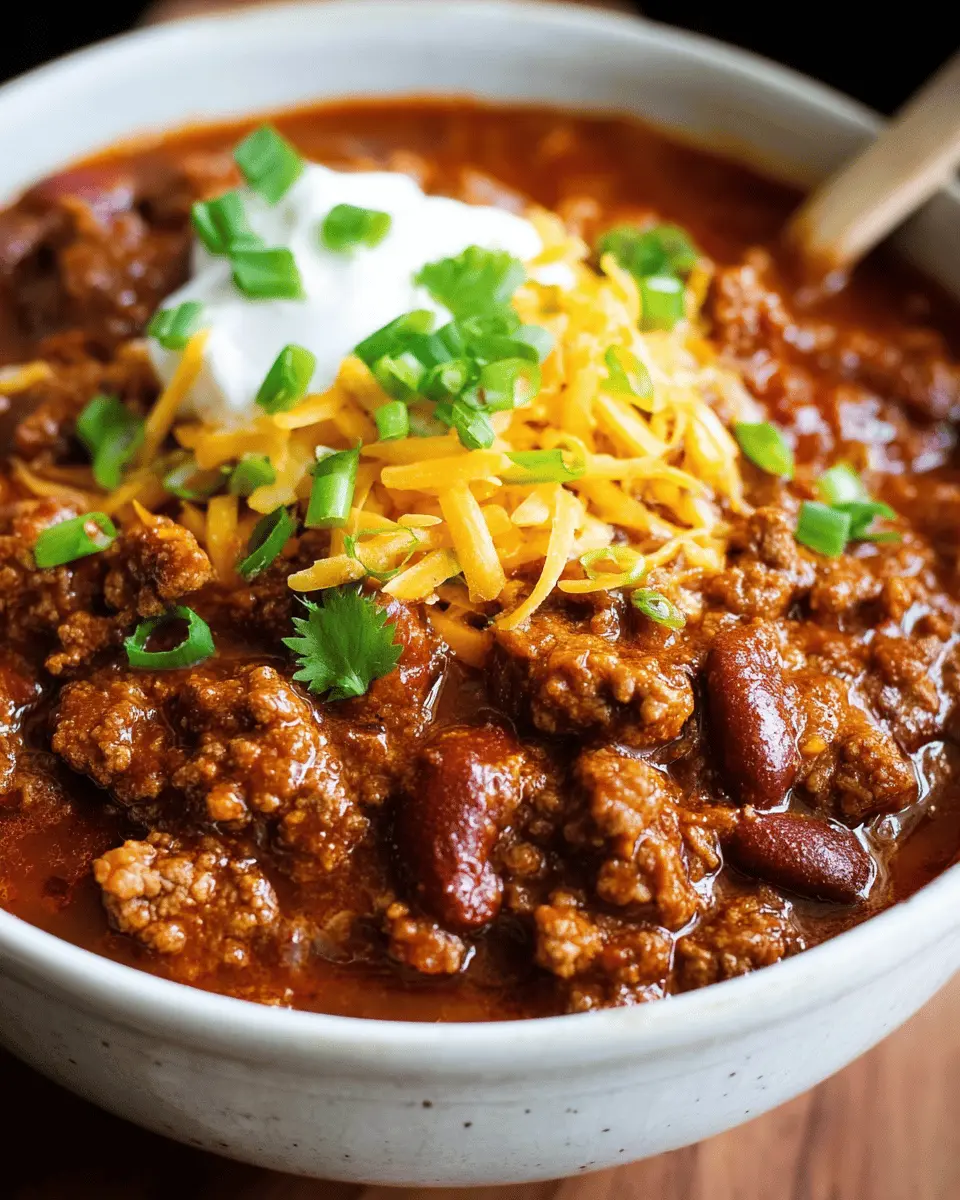
Ladle the piping-hot Pioneer Chili into bowls and let your guests customize their toppings. Shredded cheese, sour cream, fresh green onions, and crispy tortilla chips make excellent additions. Get ready for compliments and empty bowls!
By following these steps, you’ll create a chili that is sure to impress. Enjoy every delicious spoonful!
Variations on The Pioneer Chili
Vegetarian Pioneer Chili
If you’re looking to enjoy The Pioneer Chili without meat, don’t fret! Simply swap out the ground beef for a medley of hearty vegetables like zucchini, mushrooms, and carrots. You can also add lentils or black beans for extra protein. Use vegetable broth instead of beef broth and make sure to season with more spices to keep that rich flavor profile. You might be surprised how delicious and satisfying a vegetarian variant can be!
Spicy Variations for Heat Lovers
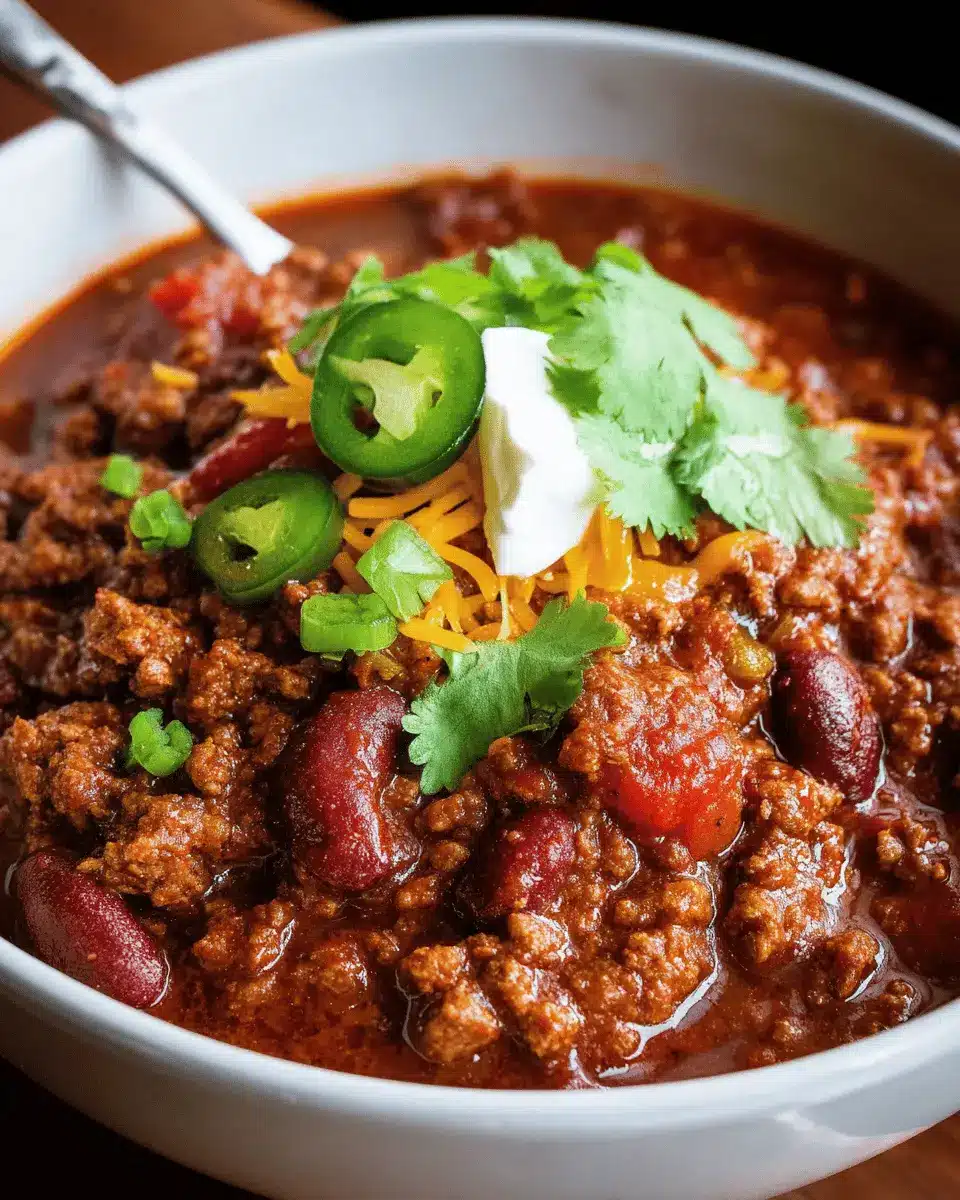
For those who crave a kick in their chili, feel free to ramp up the heat! Add an extra tablespoon of chili powder or toss in some fresh jalapeños for a fresh burst of spice. Consider including a dash of hot sauce or even some chopped chipotle peppers in adobo sauce for a smoky flavor. Adjust your cayenne pepper level according to your personal heat tolerance, and get ready for a chili that packs a punch!
For more tips on customizing your chili, check out the American Chili Association's recommendations.
Cooking Tips and Notes for The Pioneer Chili
Key Pointers for Perfect Chili
To achieve the perfect The Pioneer Chili, focus on balancing flavors and textures. Here are some tips:
- Brown the Meat Well: Ensure your ground meat is nicely browned to develop a rich, deep flavor.
- Layer Your Ingredients: Sauté the vegetables first to soften them before adding the meat and spices, allowing all the flavors to meld beautifully.
- Simmer, Don’t Rush: Letting the chili simmer for at least 45 minutes intensifies the flavors, so resist the temptation to hurry this step.
Common Mistakes to Avoid
- Skipping Seasoning: Under-seasoning can make your chili bland. Don’t forget to taste and adjust as you go!
- Overcooking Beans: Adding canned beans too early can make them mushy. Stir them in towards the end of cooking for the best texture.
- Inadequate Storage: If you have leftovers, store them in an airtight container in the fridge. Chili often tastes even better the next day!
By following these tips, you’ll create a deliciously hearty dish that’s sure to warm you up! For more chili-making wisdom, check out expert resources like America's Test Kitchen for even more insights.
Serving suggestions for The Pioneer Chili
Ideal accompaniments for chili
When you serve The Pioneer Chili, think about pairing it with some refreshing sides to enhance the experience. Here are some ideal accompaniments:
- Cornbread: This classic side soaks up the chili beautifully. Try a sweet or savory version, based on your preference.
- Rice: A bed of fluffy rice can balance the bold flavors of the chili, making every bite satisfying.
- Salad: A crisp green salad with a zesty vinaigrette brings a lovely freshness to your meal.
Creative serving ideas
Elevate your chili experience with these fun ideas:
- Chili Bar: Set up a chili bar with toppings like shredded cheese, sour cream, diced green onions, and jalapeños. Guests can customize their bowls!
- Chili Stuffed Peppers: Hollow out bell peppers and fill them with The Pioneer Chili for a colorful twist.
- Chili Nachos: Layer tortilla chips on a platter, top with chili, cheese, and all your favorite toppings for a heartwarming snack.
These suggestions will make The Pioneer Chili not just a meal but a fun and engaging dining experience! For more delicious sides, check out this cornbread recipe.
Time breakdown for The Pioneer Chili
Preparation time
Getting everything ready for The Pioneer Chili is a breeze! Expect to spend about 15 minutes chopping veggies and measuring out spices. This prep is key to a smooth cooking experience, allowing you to enjoy the process of creating this delicious dish.
Cooking time
Once your ingredients are prepped, you'll need around 1 hour and 10 minutes for the cooking process. This includes browning the meat, sautéing the veggies, and letting everything simmer together so the flavors can truly shine. Patience pays off!
Total time
In total, you’re looking at about 1 hour and 25 minutes from start to finish. With minimal hands-on time, it’s a perfect recipe for young professionals looking to unwind after a busy day while enjoying a satisfying, homemade meal.
For more cooking tips and tricks, check out resources like Serious Eats or Bon Appétit to elevate your culinary experience!
Nutritional Facts for The Pioneer Chili
Calories
One serving of The Pioneer Chili packs around 300 calories, making it a satisfying option for any meal. This hearty dish is perfect for those colder nights when comfort food is a must.
Protein
You'll find that each serving boasts approximately 25 grams of protein. This protein punch comes mainly from the ground beef or turkey and the beans, ensuring your body gets the fuel it needs after a long day.
Fiber Content
With around 10 grams of fiber per serving, The Pioneer Chili not only fills your tummy but also supports your digestion. Beans and tomatoes are excellent sources of fiber, making this chili a nutritious choice.
Conclusion
Savor this warming dish knowing it's not just delicious but also packed with nutrients. For more insights on healthy eating, check out resources from the USDA or the Mayo Clinic. Enjoy your cooking adventure!
FAQs about The Pioneer Chili
Can I freeze The Pioneer Chili?
Absolutely! The Pioneer Chili freezes beautifully. To preserve its rich flavors, allow the chili to cool completely before transferring it to airtight containers or freezer bags. You can keep it in the freezer for up to three months. When you're ready to enjoy it again, simply thaw it overnight in the fridge and reheat on the stovetop or in the microwave.
How can I make it milder?
If you prefer a gentler flavor, try The Pioneer Chili without the cayenne pepper. You can also reduce the amount of chili powder. For an added layer of creaminess that tames the spice, consider serving with a dollop of sour cream or even some shredded cheese on top.
What are some sides to serve with chili?
Pairing great sides with The Pioneer Chili can elevate your meal. Delicious options include:
- Cornbread: A classic pairing that complements the chili’s bold flavors.
- Rice: Serve it over a bed of rice for a filling option.
- Tortilla Chips: Perfect for dipping or sprinkling on top for added crunch.
For more ideas, check out this guide on chili pairings.
Conclusion on The Pioneer Chili
Recap of the Joys of Homemade Chili
In summary, The Pioneer Chili is more than just a meal—it's a delightful experience! Homemade chili offers comfort, warmth, and the chance to customize flavors just the way you like them. By using fresh ingredients and simple techniques, you create a hearty dish that brings everyone together. So grab your ingredients and let’s make some chili magic! For more recipe inspiration, check out Serious Eats or Bon Appétit.
The Pioneer Chili: Easy Beef Delight with Turkey Bacon Upgrade
Equipment
- Dutch oven
- Cutting Board
- Knife
- Wooden Spoon
Ingredients
- 2 lbs ground beef or ground turkey
- 1 small onion diced
- 1 medium green bell pepper diced
- 3 cloves garlic minced
- 2 cans (14.5 oz) diced tomatoes
- 1 can (15 oz) tomato sauce
- 2 cups beef broth
- 2 cans (15 oz) kidney beans drained and rinsed
- 1 can (15 oz) pinto beans drained and rinsed
- 2-3 tablespoon chili powder adjust for heat level
- 1 teaspoon cumin
- 1 teaspoon paprika
- ½ teaspoon cayenne pepper optional
- Salt and black pepper to taste
- Toppings Shredded cheese, sour cream, green onions, avocado slices, tortilla chips (optional)
Instructions
- Prep Your Ingredients: Dice your onion and bell pepper, mince the garlic, and measure out your spices.
- Brown the Meat: In a large Dutch oven, heat a tablespoon of oil over medium heat. Add the ground beef and cook until browned, about 5-7 minutes. Drain excess fat and set aside.
- Sauté the Vegetables: In the same pot, add the diced onion, bell pepper, and minced garlic. Cook for about 3-5 minutes until softened.
- Build the Base: Return the meat to the pot. Stir in chili powder, cumin, paprika, cayenne, salt, and pepper. Cook for 1-2 minutes.
- Add the Tomatoes and Broth: Pour in diced tomatoes, tomato sauce, and beef broth. Stir well and bring to a simmer.
- Let It Simmer: Reduce heat to low, cover the pot, and let chili simmer for about 45 minutes.
- Add the Beans: Stir in kidney and pinto beans, continue simmering for another 15 minutes.
- Taste and Adjust: Taste test the chili, adjusting seasoning with salt, pepper, or spices as needed.
- Serve and Enjoy: Ladle into bowls and add toppings as desired.

Leave a Reply