
Introduction to Grilled Rice Balls
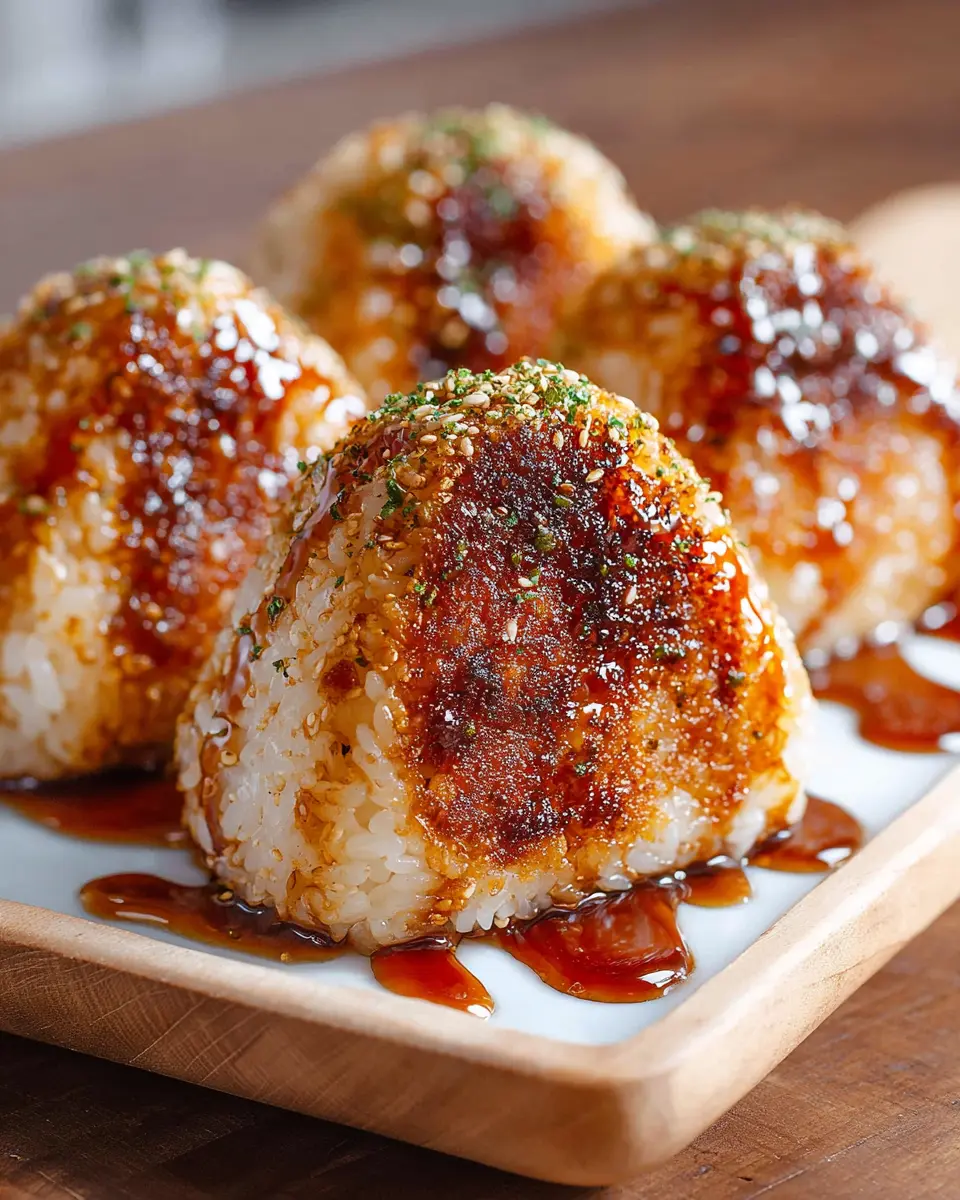
Grilled rice balls, or yaki onigiri, are a delightful fusion of simplicity and flavor that make them an ideal dish for any home cook. Why should you consider making these tasty morsels at home? First and foremost, grilled rice balls are incredibly versatile. You can customize them with your favorite fillings—like savory chicken ham or fresh vegetables—or enjoy them simply brushed with a flavorful glaze.
Creating your own grilled rice balls is also a fun way to experiment in the kitchen. With just a few ingredients and some creativity, you'll find yourself whipping up variations that fit your taste buds perfectly. Plus, these rice balls make for a fantastic snack or a satisfying side dish, perfect for lunches or gatherings.
Moreover, the process of grilling rice balls gives them a crispy, caramelized exterior that lends an inviting crunch contrasted by a soft and chewy interior. This combination of textures is hard to resist! Cooking them at home means you can adjust the level of seasoning and flavoring to your liking, ensuring every bite is as delicious as you want it to be. So, let’s uncover the delightful world of grilled rice balls together and elevate your culinary skills with this delightful recipe!
Ingredients for Grilled Rice Balls
Essential ingredients for the perfect yaki onigiri
To whip up a batch of delicious grilled rice balls, you'll need just a few essential ingredients. Start with 1 ½ cups of cooked Japanese short grain rice—this variety is sticky enough to hold its shape when formed into balls or triangles. For seasoning, gather 4–5 tablespoons of soy sauce or a flavorful alternative like mentsuyu or vegan Unagi sauce. These sauces not only add depth of flavor but also help achieve that irresistible caramelized glaze as the balls grill to perfection.
Optional add-ins and enhancements
While the basic recipe shines on its own, feel free to get creative! You might consider adding fillings such as toasted sesame seeds, pickled vegetables, or even a little turkey bacon for a savory twist. Herbs like chives or shiso leaves can give your grilled rice balls an extra burst of freshness. Don't hesitate to experiment with different dipping sauces, like a wasabi-infused soy sauce, to elevate the dish further.
For more tips and ingredient ideas, check out this guide to making onigiri. Enjoy your culinary adventure!
Preparing Grilled Rice Balls
Making grilled rice balls, or Yaki Onigiri, is an art that can be mastered with a little practice. Let's walk through the essential steps to prepare these delicious treats that can be enjoyed as a snack or a meal.
Cool the Rice Appropriately
For perfect grilled rice balls, start by allowing your freshly cooked Japanese short grain rice to cool slightly. You want it to be warm but manageable. It's crucial to cover the rice with a damp towel to keep it from drying out as you work. The ideal temperature makes shaping the rice balls a total breeze. Did you know that rice that’s too hot will stick to your hands, while too cold will crumble? It’s all about that sweet spot!
Shape the Rice into Onigiri
Now that your rice is at the perfect temperature, it’s time to shape it. Wet your hands with water to prevent sticking, and rub a bit of vinegar on them. Dip your pointer finger in some salt and rub it between your hands; this extra touch not only adds flavor but also keeps the rice from clinging too much. Grab about ¼ cup of rice and mold it into your desired shape—either a triangle or a ball. If you're not as confident in shaping by hand, consider using an onigiri mold for perfectly symmetrical rice balls.
Grill to Golden Perfection
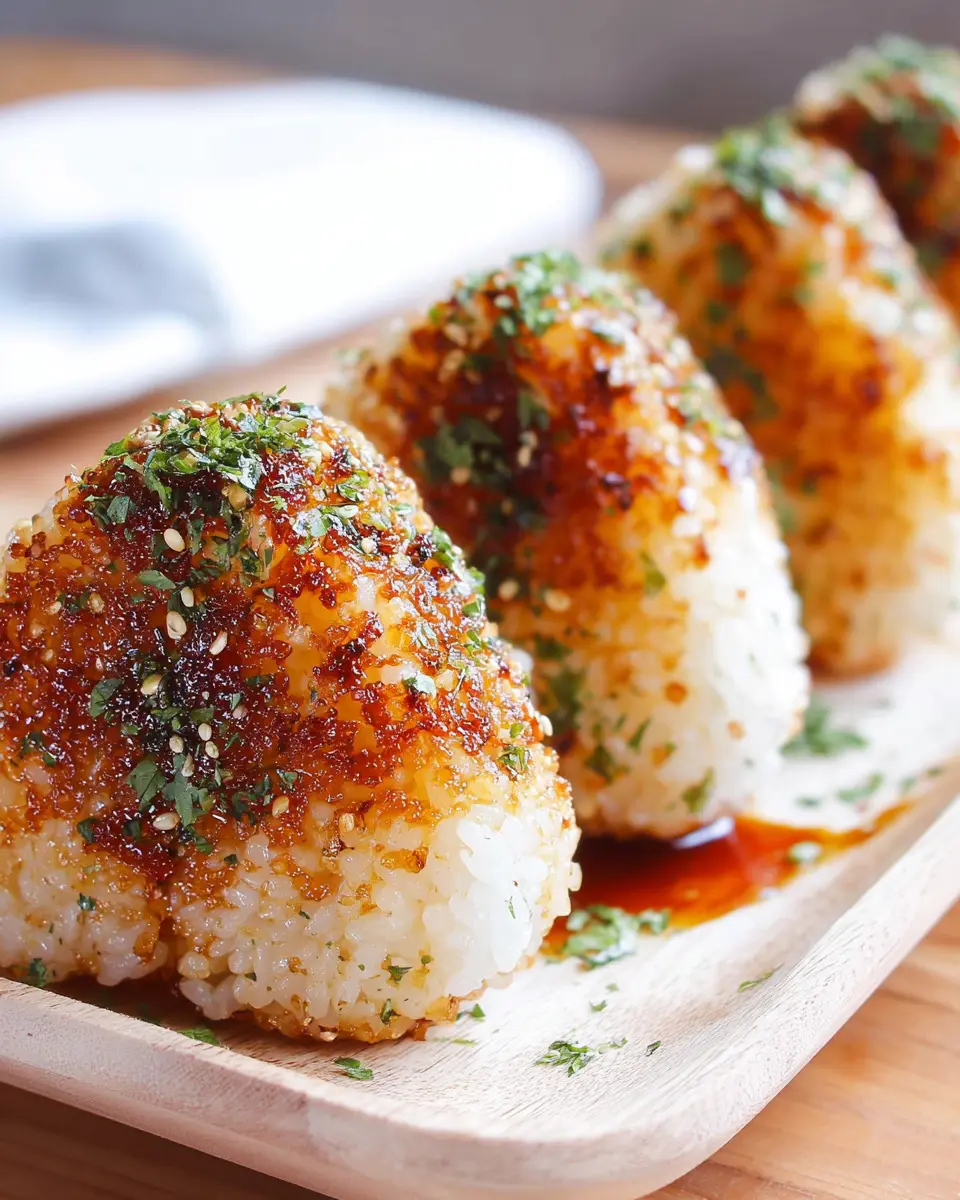
Once your rice balls are beautifully shaped, it’s time for the grilling! Heat a non-stick pan over medium heat and lightly oil it. Place your rice balls on the pan, grilling each side until golden brown. This usually takes about 2-3 minutes per side. Don’t forget to flip gently to avoid breaking them apart, especially if you've opted for those charming triangle shapes. It’s the grill that adds that irresistible crispiness outside, making the inside fluffy.
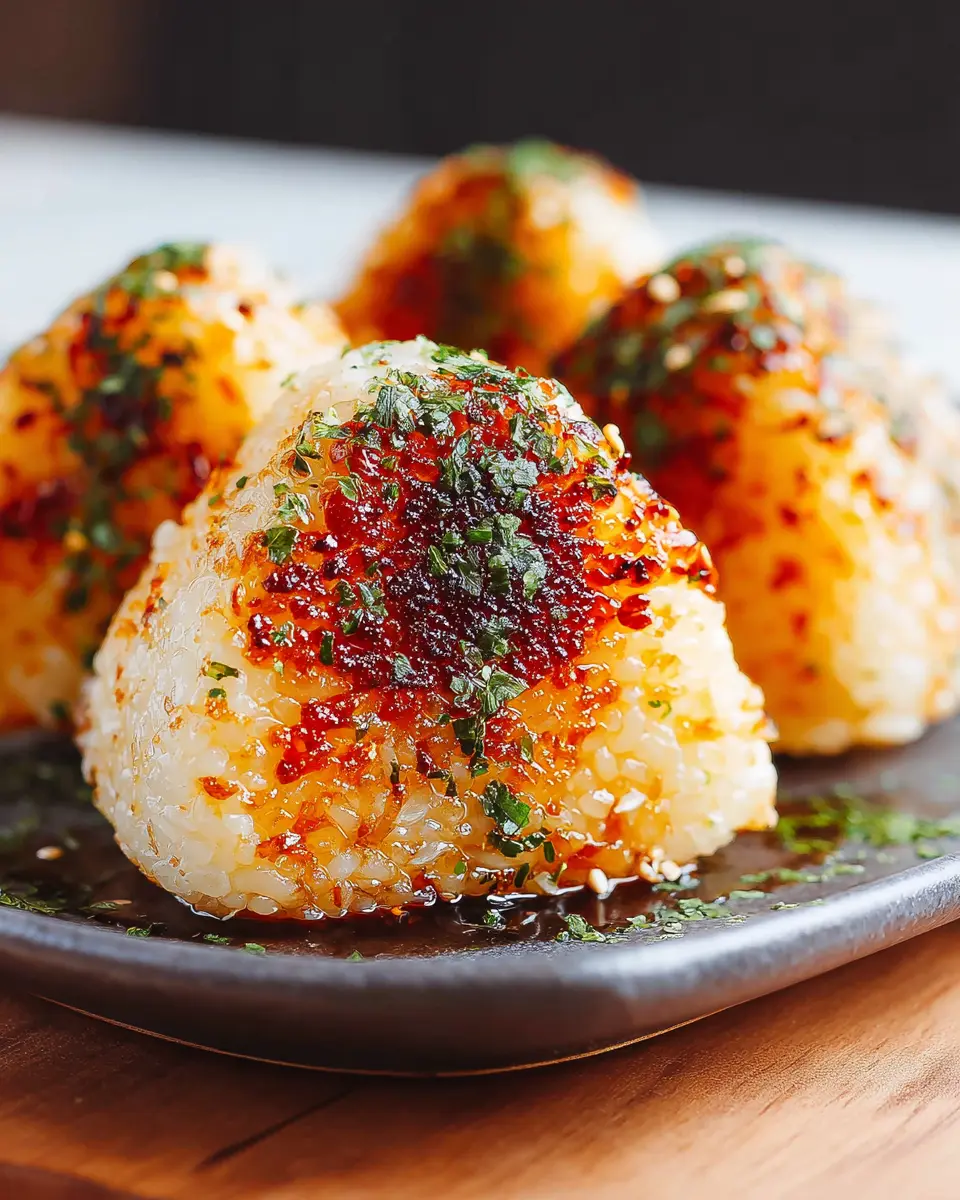
Brush with Sauce to Elevate Flavor
Here’s where the magic happens. Bring the heat down to medium-low, and generously brush the grilled rice balls with your chosen sauce. A mix of soy sauce and mirin works beautifully here. While one side sizzles, flip the onigiri and brush the other side too. Just a quick 15-20 seconds is all it takes; be vigilant to avoid burning. This layer of glaze infuses the rice balls with deep flavor that accentuates the simple goodness of the rice.
Final Grilling and Serving
Now it’s time for the final grilling! Flip your rice balls one last time to let both sides absorb all that deliciousness. Once they are perfectly golden and aromatic, remove them from the pan. Serve your grilled rice balls warm, perhaps with a sprinkle of sesame seeds or chopped green onions for added flair. Trust me, they won't last long on the plate!
Grilled rice balls are a delightful addition to any meal, and with these easy steps, you’re well on your way to mastering this traditional Japanese dish. Happy cooking!
Variations on Grilled Rice Balls
Flavorful fillings for your rice balls
Grilled rice balls, or yaki onigiri, can be incredibly versatile! Experiment with different fillings inside your rice balls to create unique flavors. Consider:
- Chicken Ham or Turkey Bacon: For a savory twist, chop these up and mix them into the rice.
- Vegetables: Sautéed mushrooms, spinach, or even roasted bell peppers provide depth.
- Spicy Mashed Potatoes: A surprising but delicious filling for a fusion take.
Want to know more about flavor combinations? Check out this guide on Japanese rice dishes.
Alternative sauces and toppings
While a simple soy sauce glaze works wonders, don't hesitate to get creative! Other delicious options include:
- Teriyaki Sauce: Adds a sweet and tangy richness.
- Sesame Oil and Chopped Green Onions: For a nutty flavor profile.
- Pickled Vegetables: They add zest and a crunch to your grilled rice balls.
These variations not only expand your palate but can also impress your guests. Getting creative in the kitchen is one of the best ways to enjoy your meals!
Cooking Tips and Notes for Grilled Rice Balls
Troubleshooting Common Issues
If your grilled rice balls are falling apart, consider using slightly less water when cooking the rice to achieve a firmer texture. If they are stuck to the pan, ensure it's well-oiled and preheated before grilling. Also, handle them gently when flipping to avoid breakage.
Essential Equipment for Easy Preparation
For making delicious grilled rice balls, having the right tools makes a big difference. A good Japanese rice cooker can help ensure perfectly cooked rice, while an onigiri mold can shape them with ease. A basting brush will also be handy for applying sauce evenly. Remember to have a damp towel nearby to keep your rice from drying out as you work. For more tips, check out this guide on making onigiri.
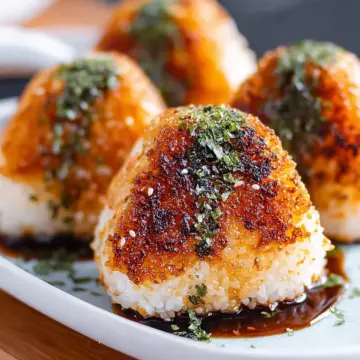
Yaki Onigiri (Grilled Rice Balls)
Equipment
- Japanese rice cooker
- Onigiri Mold
- basting brush
Ingredients
Rice Balls
- 1.5 cups cooked Japanese short grain rice 320g
- 4-5 tablespoon soy sauce or mentsuyu or Vegan Japanese Unagi sauce
Instructions
- Allow the cooked rice to cool down to a point where you can handle it with your hands. Be sure not to let it completely cool. Cover the rice cooker bowl with a damp towel as you work to prevent the rice from drying out.
- Wet your hands with water and rub vinegar between your hands. Dip our pointer finger into some salt and rub between your hands, this will help prevent the rice from sticking to your hands. Take about ¼ heaping cup of rice and shape into a onigiri, either a circle or triangle shape.
- Lightly oil a pan over medium heat. Grill each side until golden brown, about 2-3 minutes. Flip them once to prevent the onigiri from breaking.
- Bring the heat to medium low and generously brush with the sauce. Flip and brush the other side with sauce while the previous side cooks (takes around 15-20 seconds, be sure to not let it burn). Flip once more to grill the other side. Remove from the pan, serve and enjoy!


Leave a Reply